If you have a serious sweet tooth or just crave that rich, velvety texture of a perfect dessert, you’re in for a treat with this Homemade Creamy Chocolate Pudding from Scratch Recipe. This pudding isn’t just any quick mix—it’s a luscious, chocolatey delight made with real ingredients that come together to create a deeply satisfying flavor and irresistibly smooth mouthfeel. Whether you’re looking to impress guests or just indulge yourself after a long day, this recipe hits all the right notes with every spoonful.
Ingredients You’ll Need
Getting the ingredients right is the first step toward pudding perfection. Each one plays a crucial role—some add creaminess, some enrich the chocolate flavor, and others balance sweetness and texture beautifully.
- 1 1/2 cups half and half: Brings a nice balance of creaminess without being too heavy, perfect for that silky pudding base.
- 1 3/4 cups heavy cream: Adds richness and thick texture that makes the pudding decadent.
- 8 oz bittersweet chocolate, 60% cocoa: Provides an intense chocolate flavor that’s neither too sweet nor too bitter.
- 7 egg yolks: Essential for thickening the pudding naturally, giving it that custard-like consistency.
- 3/4 cup sugar: Sweetens the pudding just enough, balancing the bitterness of the chocolate.
- 1 tsp vanilla extract: Enhances the chocolate’s depth with a subtle aromatic sweetness.
- 1/4 tsp kosher salt: A tiny pinch that brings all the flavors together, making the chocolate pop.
How to Make Homemade Creamy Chocolate Pudding from Scratch Recipe
Step 1: Scald the Cream
Start by combining the half-and-half and heavy cream in a medium saucepan. Heat it over medium-high until you see bubbles forming around the edges—this is called scalding. Just be careful not to let it reach a full boil, which can affect the texture later on. Scalding helps deepen the flavors and prepares the dairy for mixing with chocolate.
Step 2: Melt the Chocolate
While your cream is heating, chop the bittersweet chocolate into small pieces and place them in a large bowl. Microwave on medium power in 30-second intervals, stirring each time until the chocolate is completely melted and smooth. This slow process prevents burning and ensures that your pudding will have that luxurious chocolate base.
Step 3: Combine Hot Cream with Chocolate
Pour the hot cream mixture over the melted chocolate. Whisk them together thoroughly, letting the warm cream melt the chocolate further. This creates a glossy, rich mixture that will transform into your pudding’s luscious base.
Step 4: Prepare the Egg Yolk Mixture
Whisk the egg yolks in a separate bowl until smooth. Then slowly add the sugar, continuing to whisk until the mixture is light and creamy. This step is vital because the eggs are what will thicken the pudding and provide that irresistible custard texture.
Step 5: Temper the Egg Yolks
To avoid scrambling the eggs, slowly incorporate a tablespoon of the warm chocolate mixture into the egg yolks while whisking constantly. Gradually add more chocolate in small amounts until the yolks are fully blended with the chocolate mixture—this gradual temperature change is called tempering.
Step 6: Cook until Thickened
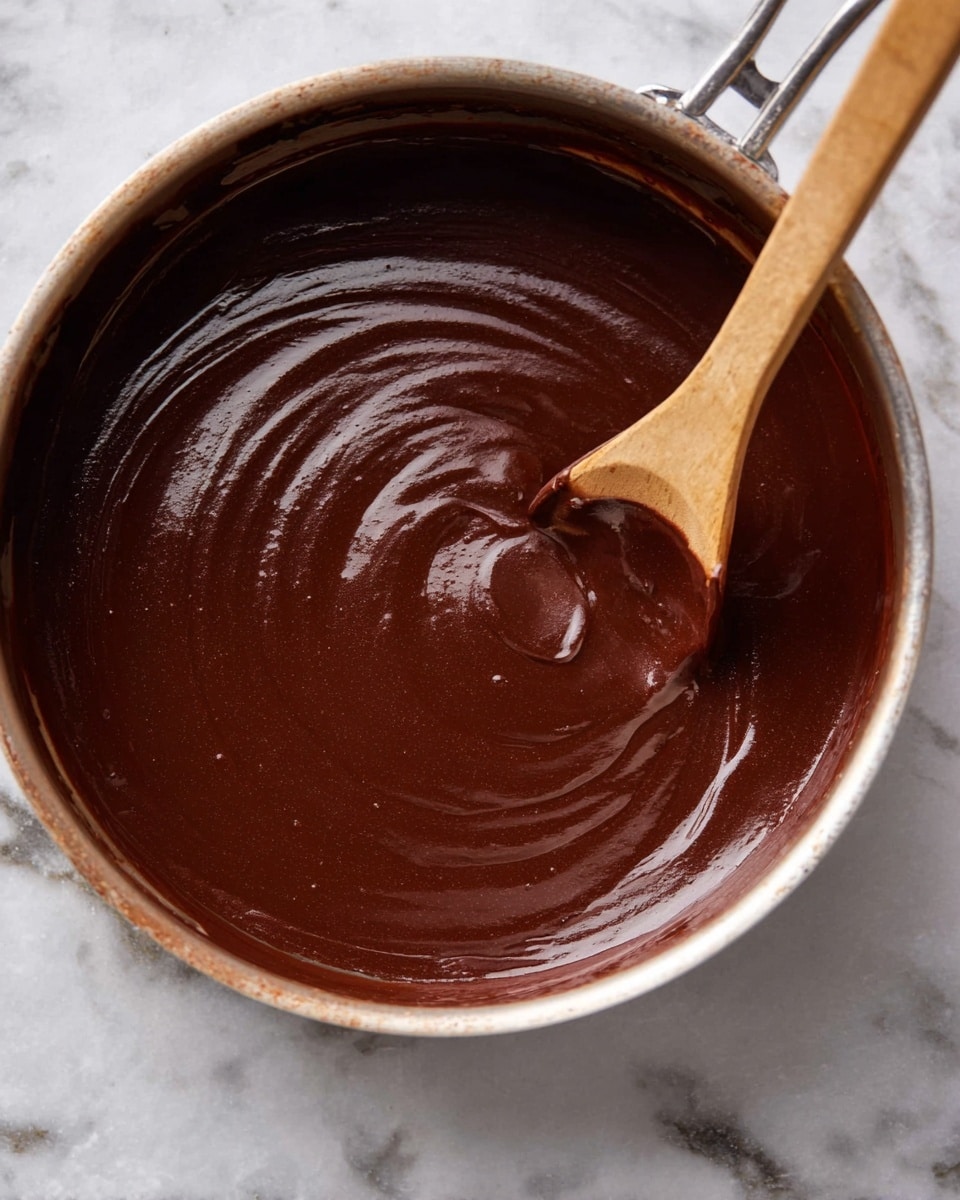
Return the blended mixture to the saucepan and cook over medium-low heat. Stir constantly with a wooden spoon to prevent sticking or curdling. After about five minutes, once your pudding coats the back of the spoon and thickens, remove it from heat. It will still be slightly pourable but will firm up beautifully as it cools.
Step 7: Final Touches and Chill
Stir in the vanilla extract and salt for that extra dimension of flavor. Then, press plastic wrap directly onto the surface of the pudding to prevent a skin from forming. Refrigerate it for at least three hours until it’s completely chilled and ready to enjoy.
How to Serve Homemade Creamy Chocolate Pudding from Scratch Recipe
Garnishes
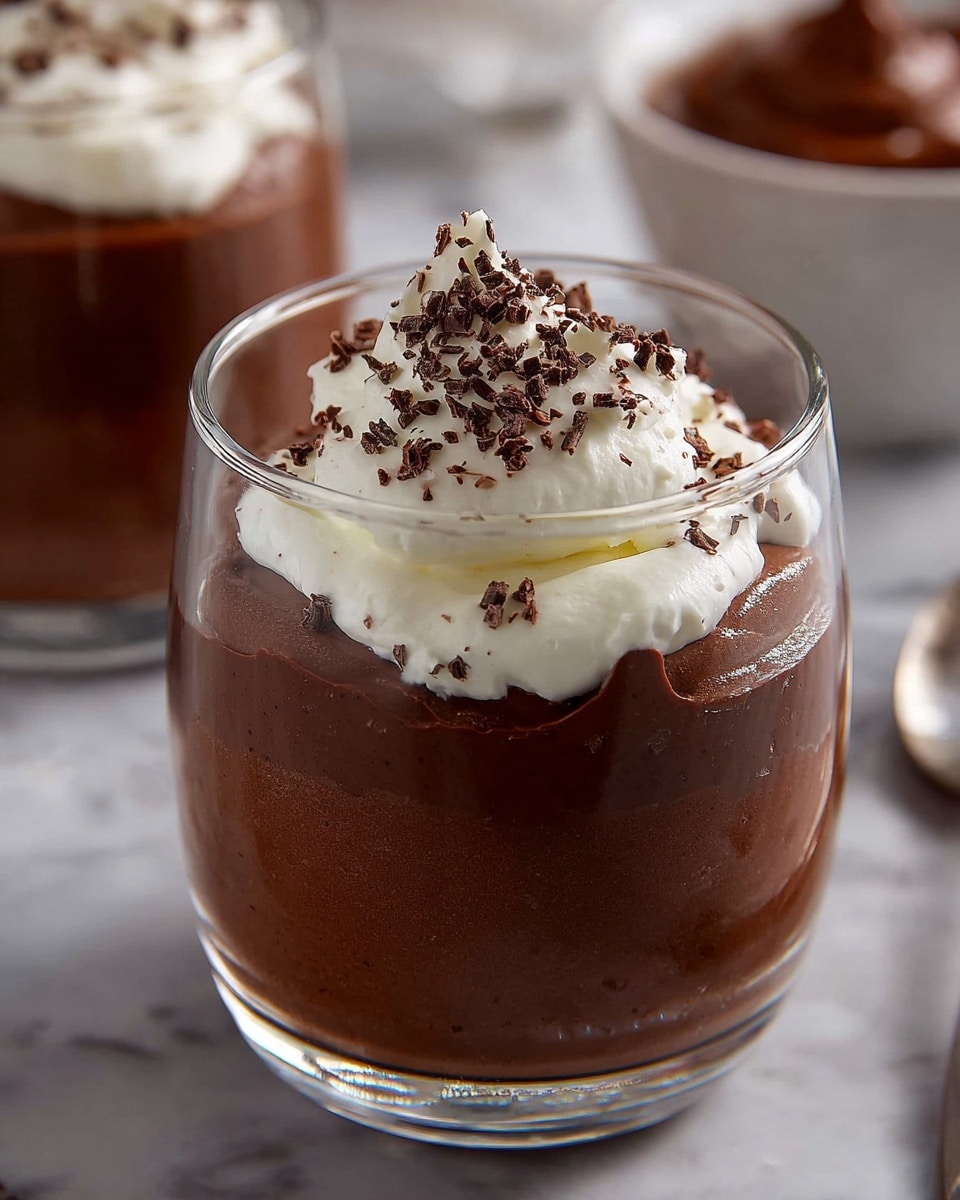
Adding the right garnish can elevate your pudding from delicious to unforgettable. Fresh whipped cream, a sprinkle of shaved dark chocolate, or even a few fresh berries like raspberries or strawberries contrast wonderfully with the rich chocolate—plus they add color and freshness.
Side Dishes
This pudding pairs beautifully with crisp shortbread cookies or thin biscotti for a textural contrast that is simply divine. A scoop of vanilla ice cream on the side also complements the pudding’s creamy texture and boosts the indulgence factor.
Creative Ways to Present
For an eye-catching dessert spread, serve the pudding in individual glass jars or delicate stemmed glasses. Layer with crushed cookies or fruit compote for a stunning parfait effect. You could also pipe it into decorative ramekins and top with edible gold leaf if you’re feeling fancy!
Make Ahead and Storage
Storing Leftovers
This Homemade Creamy Chocolate Pudding from Scratch Recipe keeps wonderfully in the fridge for up to three days. Just be sure to cover it tightly with plastic wrap or transfer it to airtight containers to maintain that fresh, silky texture.
Freezing
While you can freeze chocolate pudding, be aware that its texture might change slightly after thawing due to the high dairy content. Freeze in airtight containers for up to one month and thaw overnight in the fridge. Give it a good stir before serving to help restore creaminess.
Reheating
It’s best enjoyed cold, but if you prefer warm pudding, gently reheat it in a microwave-safe bowl at low power in short bursts, stirring frequently. Avoid overheating to prevent the eggs from scrambling or the pudding becoming grainy.
FAQs
Can I use milk instead of half and half or heavy cream?
You can substitute milk, but keep in mind that the pudding won’t be as rich or creamy. For best results, stick to the half-and-half and heavy cream to achieve that signature silky texture of this Homemade Creamy Chocolate Pudding from Scratch Recipe.
Is it necessary to temper the eggs?
Yes, tempering the eggs slowly with the warm chocolate mixture prevents them from curdling and ensures a smooth, creamy pudding instead of a scrambled mess.
How long does the pudding take to set?
The pudding needs at least three hours in the refrigerator to chill and fully set. Patience pays off because this time allows the flavors to meld and the texture to become beautifully thick.
Can I use milk chocolate instead of bittersweet chocolate?
You can use milk chocolate if you prefer a sweeter, milder chocolate taste, but the pudding will lose some of that depth and richness characteristic of this recipe. Bittersweet chocolate keeps the balance just right.
What if I don’t have a microwave to melt the chocolate?
No worries! You can melt the chocolate using a double boiler on the stovetop. Just be sure to stir constantly and remove it from heat as soon as it’s smooth to avoid burning.
Final Thoughts
Making this Homemade Creamy Chocolate Pudding from Scratch Recipe is like giving yourself a big, delicious hug in dessert form. It’s wonderfully indulgent, surprisingly straightforward to make, and endlessly comforting. Once you try it, you’ll understand why it’s a forever favorite and a guaranteed crowd-pleaser. So, grab your whisk and chocolate—it’s time for some sweet magic!
Print
Homemade Creamy Chocolate Pudding from Scratch Recipe
- Total Time: 3 hours 25 minutes
- Yield: 8 servings
- Diet: Gluten Free
Description
This homemade creamy chocolate pudding recipe is a rich and luscious dessert made entirely from scratch using quality ingredients like bittersweet chocolate, heavy cream, and egg yolks. It delivers a smooth, velvety texture and intense chocolate flavor, perfect for an elegant treat at home. The pudding is cooked gently on the stovetop to achieve the ideal thickened consistency before chilling to set.
Ingredients
Base Ingredients
- 1 1/2 cups half and half
- 1 3/4 cups heavy cream
- 8 oz bittersweet chocolate (60% cocoa)
Custard Ingredients
- 7 egg yolks
- 3/4 cup sugar
- 1 tsp vanilla extract
- 1/4 tsp kosher salt
Instructions
- Scald Cream Mixture: In a medium saucepan, combine the half-and-half and heavy cream and heat over medium-high until small bubbles form around the edges, making sure it does not come to a boil.
- Melt Chocolate: Chop the bittersweet chocolate and place it in a large bowl. Microwave on medium power for 2-3 minutes, stirring every 30 seconds until the chocolate is melted and smooth.
- Combine Cream and Chocolate: Pour the hot cream mixture over the melted chocolate and whisk together until thoroughly combined and smooth.
- Prepare Egg Mixture: In a separate medium bowl, whisk egg yolks together, then slowly whisk in the sugar until well incorporated.
- Temper Eggs: Gradually add a tablespoon of the warm chocolate mixture to the egg yolks while whisking to combine. Continue to add the warm chocolate a little at a time until fully incorporated to prevent the eggs from curdling.
- Cook Pudding: Pour the combined mixture back into the saucepan. Heat over medium-low, stirring constantly with a wooden spoon, until the pudding thickens enough to coat the back of the spoon, about 5 minutes. Remove from heat before it becomes too thick; it will continue to thicken as it cools.
- Add Flavor and Chill: Stir in the vanilla extract and kosher salt. Press plastic wrap directly onto the surface of the pudding to prevent a skin from forming. Refrigerate for at least 3 hours until fully chilled and set.
- Serve: Stir the pudding briefly before serving to restore the creamy texture.
Notes
- Use good quality bittersweet chocolate for the best flavor and texture.
- Temper the egg yolks gradually to avoid scrambling the eggs.
- Stir constantly while cooking to prevent the pudding from burning or curdling.
- Covering the pudding with plastic wrap directly on the surface helps avoid a skin forming.
- Chilling the pudding for at least 3 hours enhances its texture and flavor.
- Prep Time: 15 minutes
- Cook Time: 10 minutes
- Category: Dessert
- Method: Stovetop
- Cuisine: American

