If you are looking for a dessert that bursts with color, flavor, and fun, then this Funfetti Icebox Cake Recipe will quickly become your new favorite. It combines the creamy richness of a luscious vanilla pudding and cream cheese filling with the delightful crunch of buttery shortbread cookies, all sprinkled with vibrant rainbow sprinkles that make every bite a celebration. Perfectly chilled to set into a heavenly, sliceable treat, this cake is not only a feast for the eyes but also a joy to share with friends and family on any special occasion or just because life deserves a little sparkle.
Ingredients You’ll Need
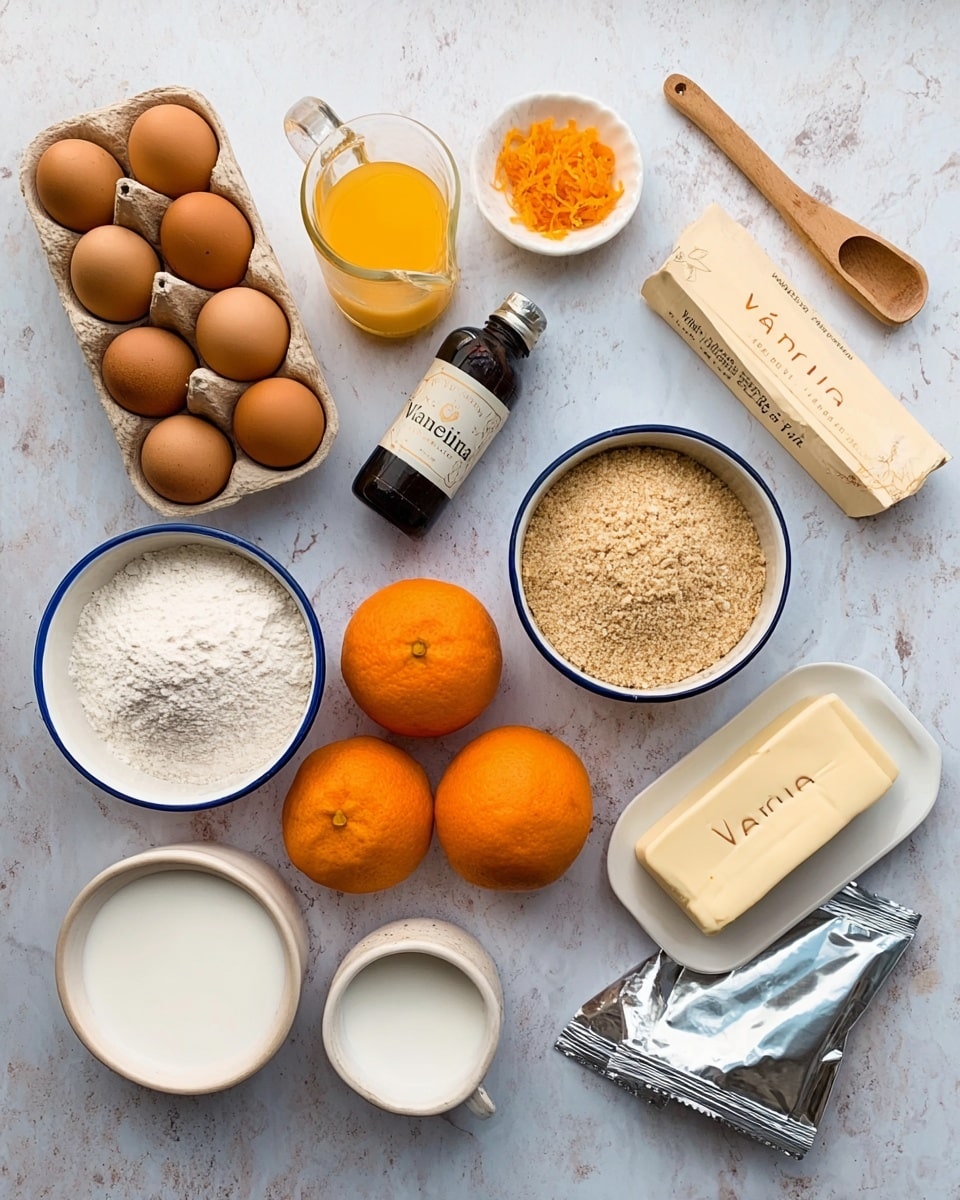
This recipe calls for simple, straightforward ingredients that each play a crucial role in crafting the perfect Funfetti Icebox Cake Recipe. From the creamy texture of softened cream cheese to the classic sweetness of vanilla pudding and the magic of rainbow sprinkles, every component contributes to a harmonious flavor and texture.
- Cream cheese: Provides a rich, tangy creaminess that balances the sweetness.
- Instant vanilla pudding mix: Adds a smooth vanilla flavor and helps thicken the filling.
- Vanilla extract: Enhances the overall aroma and taste with a warm vanilla note.
- Milk: Used to prepare the pudding, ensuring a silky, smooth consistency.
- Cool Whip or whipped topping: Brings airy lightness and creaminess to the filling.
- Shortbread cookies: Offer a buttery crunch that contrasts wonderfully with the soft filling.
- Rainbow sprinkles: Infuse fun color and a subtle crunch to brighten each bite.
- Whipped cream (optional): Adds an extra touch of elegance and fluffiness for garnishing.
How to Make Funfetti Icebox Cake Recipe
Step 1: Prepare the Creamy Base
Start by beating the softened cream cheese in a large bowl with a hand mixer until it’s light and fluffy—this usually takes about two minutes. This step is essential because a smooth and airy base ensures your filling sets perfectly without lumps.
Step 2: Mix in Pudding and Vanilla
Next, add the instant vanilla pudding powder and vanilla extract to the cream cheese. Blend everything with your mixer until the texture is uniform and creamy. This combination gives the filling that classic vanilla flavor we all love.
Step 3: Add Milk and Combine
Slowly pour in the milk while mixing to minimize lumps. This gives the filling a luscious, smooth texture that will soak into the shortbread cookies beautifully.
Step 4: Fold in the Cool Whip
With a rubber spatula, gently fold in the Cool Whip. This keeps the filling light and fluffy, providing the perfect contrast to the crunchy cookie layers.
Step 5: Incorporate the Sprinkles
Carefully fold in most of the rainbow sprinkles, saving some for the top. Be cautious not to over-mix, or the mixture will turn pink and lose the fun colorful sparkle that makes this Funfetti Icebox Cake Recipe so visually delightful.
Step 6: Assemble the Cake Layers
Line the bottom of an 8-inch springform pan with parchment paper. Spread about half a cup of pudding mixture on the bottom as your first layer. Then, arrange as many shortbread cookies as you can fit in one layer. Don’t worry about breakage; filling any gaps with cookie pieces works just fine.
Step 7: Alternate Layers of Cookies and Filling
Pour one-third of the remaining pudding mixture evenly over the cookies. Repeat with another cookie layer and then finish with the last of the pudding. Top it off with the reserved sprinkles to add that extra festive touch.
Step 8: Chill to Set
Place the cake in the freezer for at least four hours or refrigerate overnight to allow the layers to meld together and the cake to firm up. If frozen, let it sit on the counter for 10 minutes before slicing to soften slightly and ensure clean cuts.
Step 9: Final Touches
Carefully remove the springform pan’s outer ring. Garnish the edges with whipped cream and a generous sprinkle of rainbow sprinkles to complete the celebration look of your Funfetti Icebox Cake Recipe.
How to Serve Funfetti Icebox Cake Recipe
Garnishes
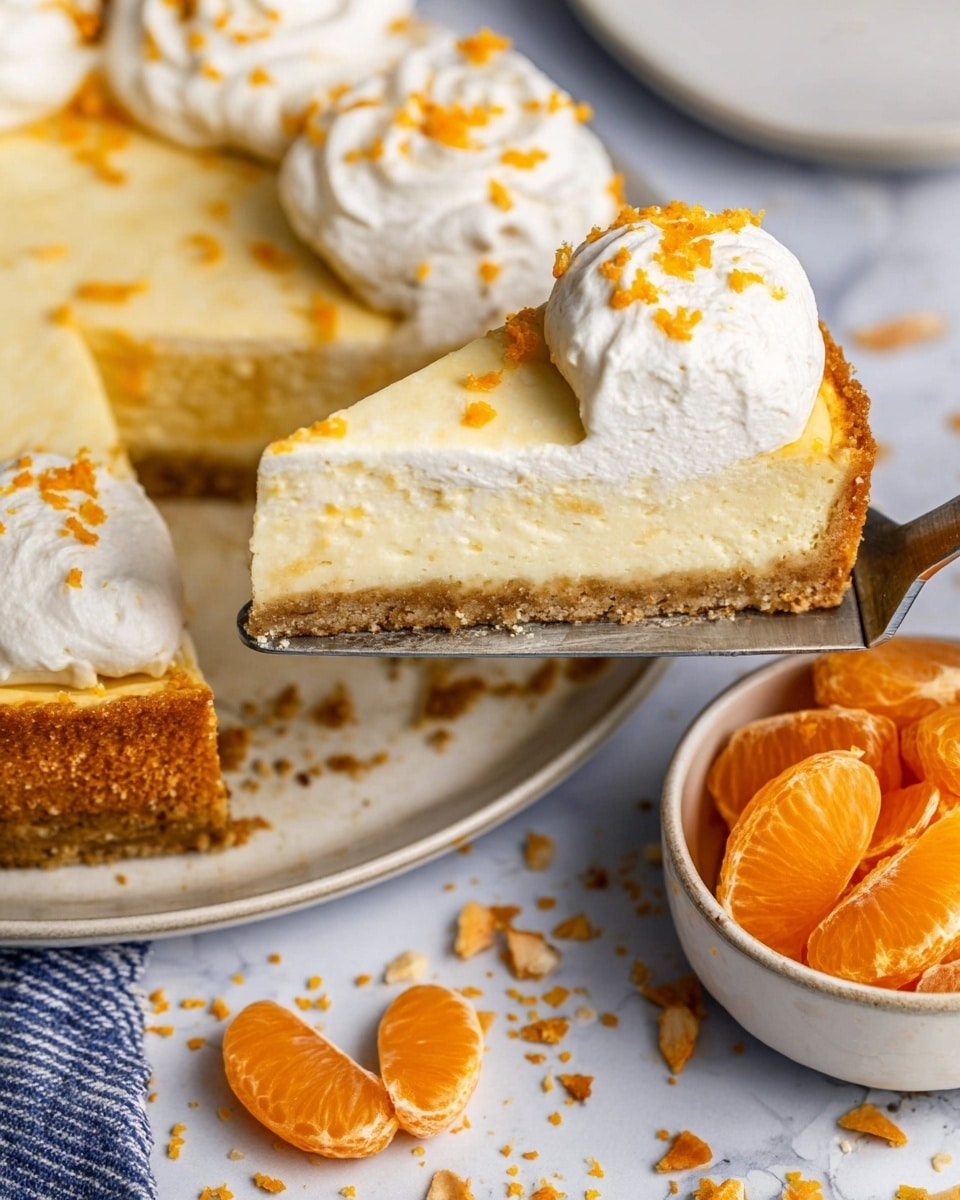
Whipped cream and extra rainbow sprinkles add a whimsical finishing touch to this cake, making it pop with color and adding a cloud-like softness that elevates every bite. You can also experiment with edible glitter or small fresh berries for a slightly different vibe.
Side Dishes
This cake pairs wonderfully with light, refreshing sides such as a simple berry salad or a scoop of vanilla ice cream. These accompaniments balance the richness of the cake and keep the overall experience bright and cheerful.
Creative Ways to Present
Try serving your Funfetti Icebox Cake Recipe in clear glass dishes or individual mason jars for a cute, personalized touch. Layering the dessert in smaller portions allows each guest to enjoy its eye-catching layers and keeps the fun bursting on every plate.
Make Ahead and Storage
Storing Leftovers
Keep any leftover Funfetti Icebox Cake stored in an airtight container in the refrigerator. It will stay fresh and delicious for up to 3 days, retaining its creamy texture and vibrant colors.
Freezing
This cake freezes beautifully. Wrap it tightly in plastic wrap and then foil to prevent freezer burn. Frozen leftovers can last up to a month; just thaw in the refrigerator overnight before serving.
Reheating
Since this is a chilled dessert, reheating is not recommended. Instead, simply allow frozen slices to soften at room temperature for 10–15 minutes before enjoying to bring out the best texture and flavors.
FAQs
Can I use a different type of cookie instead of shortbread?
Absolutely! While shortbread cookies provide a buttery crunch, graham crackers or vanilla wafers can also work well. Just keep in mind the texture and sweetness may vary slightly.
What if I don’t have Cool Whip? Can I use homemade whipped cream?
Definitely! Homemade whipped cream is a fantastic substitute that adds a fresh, creamy texture. Make sure it’s softly whipped so it folds easily into the pudding mixture.
Can this cake be made gluten-free?
Yes, by using gluten-free vanilla pudding mix and gluten-free cookies, you can adapt this Funfetti Icebox Cake Recipe to suit gluten-free diets without sacrificing flavor or fun.
How far in advance can I make this cake?
You can prepare the cake up to two days ahead and store it in the fridge. The flavors meld together beautifully after resting, making it even more delicious the next day.
Why does the pudding mixture sometimes turn pink when folding in sprinkles?
Some sprinkles contain dyes that bleed when mixed too vigorously. Gently folding them in preserves their color and keeps your filling the classic creamy vanilla shade with colorful specks.
Final Thoughts
If you’re ready to bring joy and whimsy to your dessert table, you simply must try this Funfetti Icebox Cake Recipe. It’s easy to make, wonderfully tasty, and guaranteed to elicit smiles with every colorful bite. Whether for a birthday, a casual get-together, or a fun weekend treat, this cake invites everyone to share in a little slice of happiness. Trust me, once you try it, it will become a delightful staple in your recipe collection.
Print
Funfetti Icebox Cake Recipe
- Total Time: 4 hours 30 minutes
- Yield: 12 servings
Description
This Funfetti Icebox Cake is a delightful no-bake dessert featuring layers of creamy vanilla pudding mixed with cream cheese and Cool Whip, sandwiched between crunchy shortbread cookies and colorful rainbow sprinkles. Perfectly chilled and topped with extra sprinkles and whipped cream for a festive touch, this cake is a crowd-pleaser for any celebration.
Ingredients
For the Pudding Mixture
- 8 oz cream cheese, softened at room temperature
- 6.8 oz instant vanilla pudding (2 boxes of 3.4 oz each)
- 2 teaspoons vanilla extract
- 2 cups milk
- 8 oz Cool Whip (1 container, or homemade whipped topping)
- 9–10 oz rainbow sprinkles (reserve some for topping)
For the Assembly
- 10 oz shortbread cookies (1 box)
- Whipped cream, optional for topping
Instructions
- Beat Cream Cheese: Using a hand mixer, beat the softened cream cheese in a large bowl until light and fluffy, about 2 minutes.
- Add Pudding and Vanilla: To the same bowl, add the instant vanilla pudding powder and vanilla extract. Blend with the hand mixer until uniform in consistency.
- Incorporate Milk: Slowly pour in the milk and mix until minimal lumps remain, ensuring a smooth pudding base.
- Fold in Cool Whip: Gently fold the Cool Whip into the pudding mixture with a rubber spatula to maintain airiness.
- Add Sprinkles: Fold in 9 to 10 ounces of rainbow sprinkles, reserving a portion for topping. Be careful not to overmix to avoid turning the mixture pink.
- Prepare Springform Pan: Assemble an 8-inch springform pan and line the bottom with parchment paper.
- Layer Mixture and Cookies: Spread about 1/2 cup of the pudding mixture evenly on the bottom of the pan. Layer the shortbread cookies on top in a single layer, breaking pieces as needed to fit the pan and close gaps.
- Repeat Layers: Pour one-third of the remaining pudding mixture over the cookies and spread evenly. Then repeat layering cookies and pudding mixture until all are used, finishing with the reserved sprinkles on top.
- Chill: Freeze the cake for 4 hours or refrigerate overnight to set. If frozen, allow it to sit at room temperature for about 10 minutes before cutting to soften slightly.
- Garnish and Serve: Remove the outer springform ring and optionally garnish the edges with whipped cream and additional sprinkles before serving.
Notes
- For best results, use softened cream cheese to ensure a smooth mixture.
- Do not overmix after adding sprinkles to prevent the pudding mixture from turning pink.
- If using the freezer, let the cake sit at room temperature before slicing for easier cuts.
- You can customize this icebox cake by using different types of cookies or sprinkles for variety.
- Store leftovers refrigerated and consume within 3 days.
- Prep Time: 15 minutes
- Cook Time: 0 minutes
- Category: Dessert
- Method: No-Cook
- Cuisine: American

