If you are a fan of creamy, dreamy sweets with a satisfying crunch, this Pistachio White Chocolate Fudge Recipe is about to become your new obsession. This luscious fudge combines the velvety richness of white chocolate with the nutty, buttery flavor of pistachios for an irresistible treat. Whether you’re gifting it to friends or sneaking a piece yourself, this fudge strikes the perfect balance of smooth texture and delightful crunch, making every bite a heavenly experience.
Ingredients You’ll Need
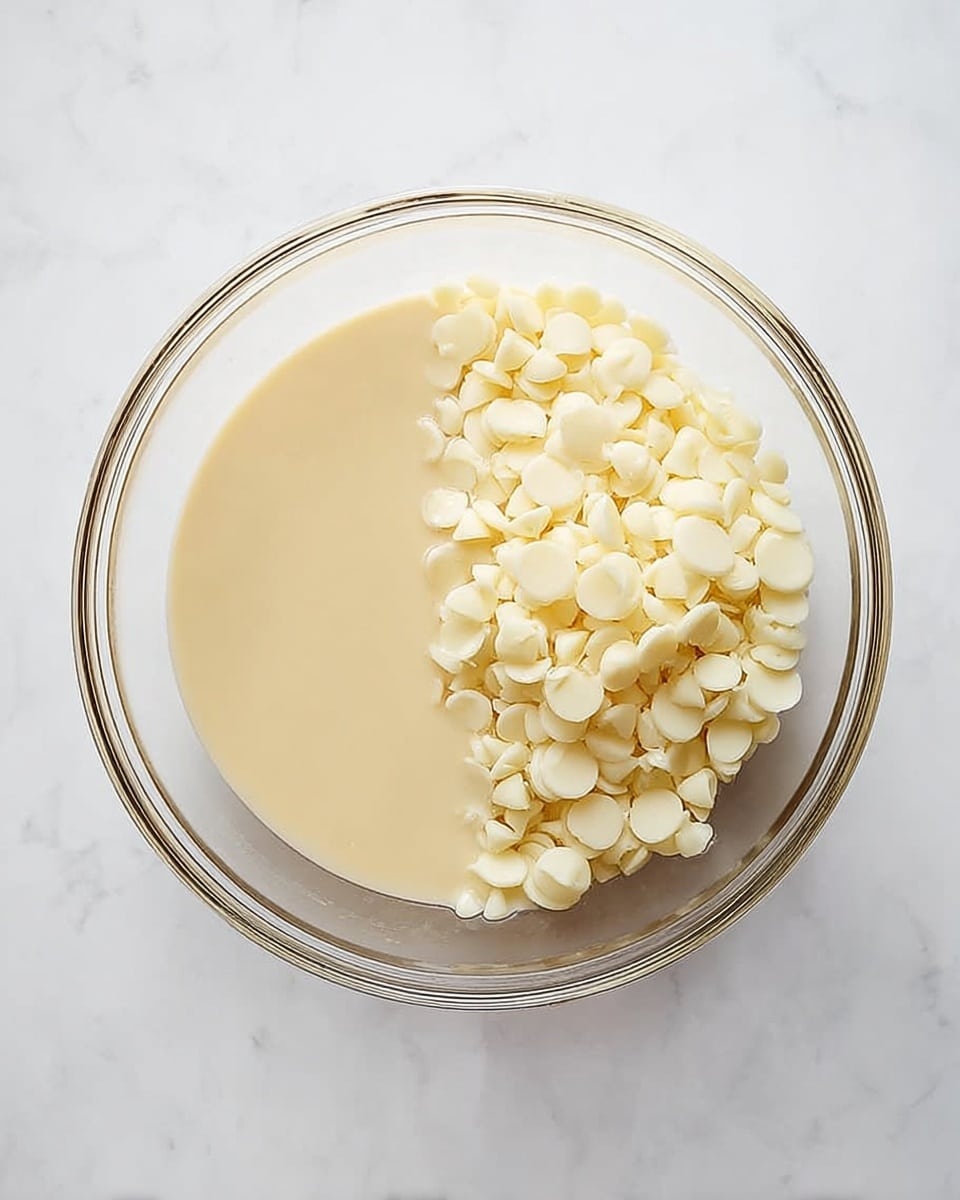
These ingredients are simple but absolutely essential for getting the perfect texture and flavor in your fudge. Each adds its own magic—from creamy sweetness to that wonderful nutty contrast and even a pop of color if you choose—giving you a treat that looks as good as it tastes.
- White chocolate chips (2 cups): The foundation of creamy richness that melts beautifully for smooth fudge.
- Sweetened condensed milk (1 can, 14 oz): Adds sweetness and helps create that perfect, fudge-like consistency.
- Shelled pistachios (1 cup, roughly chopped): Provides a delicious crunch and a nutty depth that complements the white chocolate perfectly.
- Vanilla extract (1 teaspoon): Enhances all the flavors with a warm and inviting aroma.
- Salt (a pinch): Balances the sweetness and brings out the richness of the fudge.
- Green food coloring (optional): Just a few drops give a festive green hue that makes your fudge look even more inviting.
How to Make Pistachio White Chocolate Fudge Recipe
Step 1: Prepare Your Pan
Start by lining an 8×8 inch baking dish with parchment paper. Leave some overhang on the sides so that when the fudge has set, you can easily lift it out without any mess. This small step saves hassle and keeps the fudge perfect in shape.
Step 2: Melt the Chocolate and Condensed Milk
In a medium saucepan set over medium-low heat, combine the white chocolate chips and sweetened condensed milk. Stir constantly as the mixture gently melts together, transforming into a glossy, smooth mixture without any lumps. Patience here ensures your fudge will have the perfect silky texture.
Step 3: Add Flavor and Nuts
Once melted and smooth, remove the pan from heat. Stir in the vanilla extract, a pinch of salt, and the chopped pistachios, folding everything together so that each bite contains those delightful chunks of nutty goodness. If you want to add a splash of color, this is when to add a few drops of green food coloring and stir until distributed evenly.
Step 4: Set the Fudge
Pour the mixture into the prepared baking dish. Use a spatula to spread it out evenly, making sure the pistachios are distributed nicely. Pop it into the refrigerator for at least two hours to allow the fudge to firm up completely.
Step 5: Cut and Enjoy
When the fudge is set, simply lift it out of the dish using the parchment paper edges. Cut it into 16 small squares for perfect sharing portions. Now your delicious, homemade Pistachio White Chocolate Fudge Recipe is ready to savor!
How to Serve Pistachio White Chocolate Fudge Recipe
Garnishes
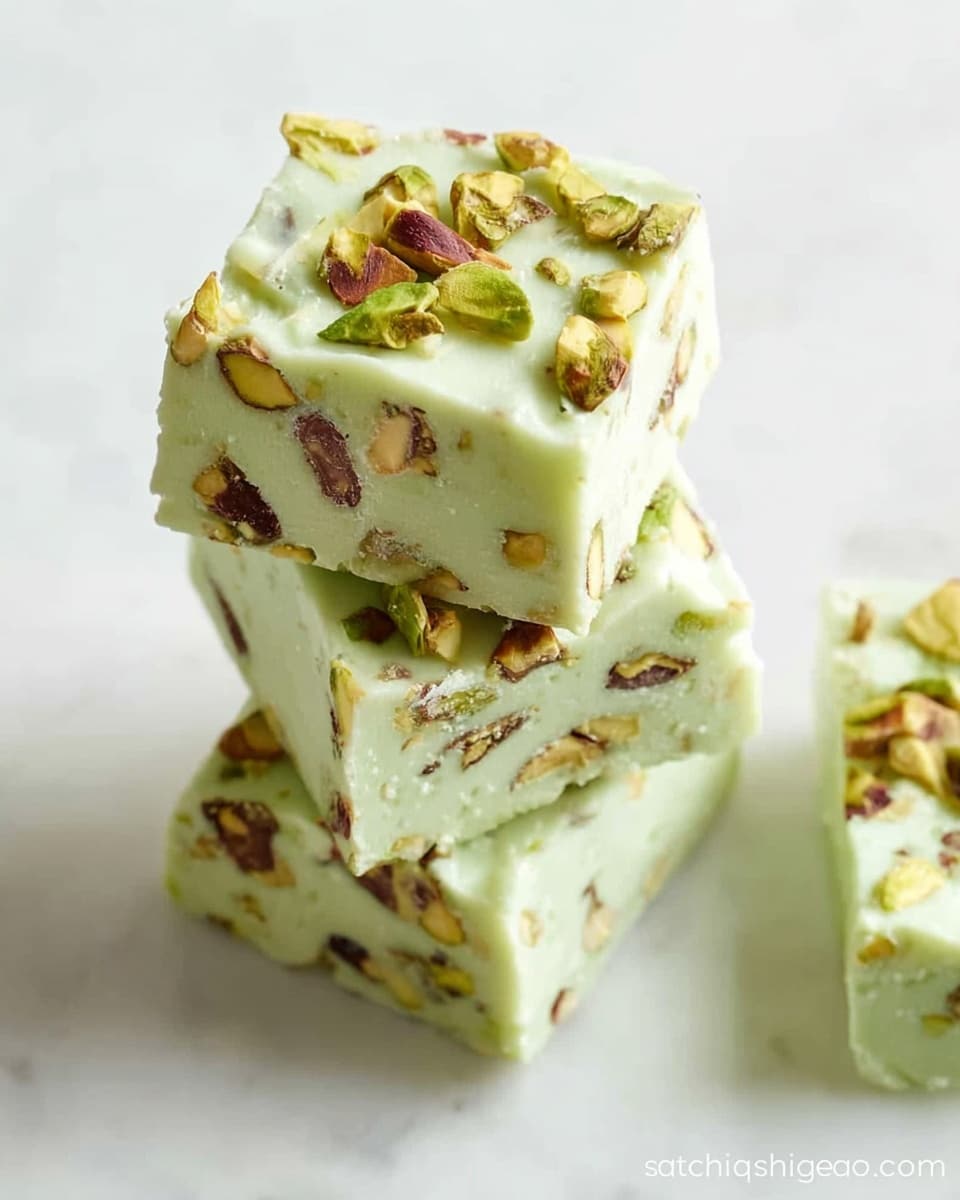
Sprinkling a few finely chopped pistachios or even edible gold glitter on top before chilling adds an elegant touch. You can also lightly drizzle melted white or dark chocolate on the squares for an extra layer of indulgence and beautiful presentation.
Side Dishes
This fudge pairs wonderfully with a cup of rich coffee or a fragrant tea, making it a terrific sweet treat to enjoy after a meal or during a cozy afternoon break. Fresh berries or a scoop of vanilla ice cream on the side also complement the creamy texture perfectly.
Creative Ways to Present
Try stacking the fudge squares in a decorative tin lined with parchment paper for a lovely gift presentation. Wrapping individual pieces in colorful wax paper tied with a ribbon makes a charming homemade gift or party favor. You can even layer the fudge into a trifle bowl with whipped cream and fresh fruit for an elegant dessert display.
Make Ahead and Storage
Storing Leftovers
Your Pistachio White Chocolate Fudge Recipe keeps beautifully stored in an airtight container at room temperature for up to one week. Just keep it in a cool place away from direct sunlight to maintain its creamy texture and avoid melting.
Freezing
For longer storage, freeze the fudge pieces in a tightly sealed container or freezer bag for up to three months. To prevent sticking, separate layers with parchment or wax paper.
Reheating
Fudge is best enjoyed cold or at room temperature, so no reheating is necessary. If the fudge feels too firm after refrigeration or freezing, simply let it sit at room temperature for 10 to 15 minutes before serving, so it softens slightly without losing its shape.
FAQs
Can I use chopped almonds instead of pistachios?
Absolutely! While pistachios give this recipe its signature flavor and color, chopped almonds or even walnuts would add a nice crunch and taste twist. Just make sure they are roughly chopped to maintain the texture balance.
Is it necessary to use sweetened condensed milk?
Yes, sweetened condensed milk plays a crucial role in achieving the fudge’s creamy, fudgy texture. Substituting it might affect the consistency and sweetness of the final product.
How long does this fudge need to set?
For best results, chill the fudge for at least two hours to ensure it sets firmly. You can refrigerate it longer if you want a firmer texture, but overnight is not required.
Can I skip the food coloring?
Definitely. The green food coloring is entirely optional and only adds a festive hue. The fudge will still be delicious and visually appealing without it.
What’s the best way to cut the fudge without it sticking?
Lift the fudge out of the pan using the parchment overhang, then use a sharp knife warmed with hot water to cut clean squares. Wiping the knife between cuts helps keep edges neat and prevents sticking.
Final Thoughts
This Pistachio White Chocolate Fudge Recipe is a simple yet luxurious treat that feels like a celebration in every bite. Whether you’re making it for a special occasion or just because you deserve a sweet indulgence, it’s a delightful way to bring a little happiness to your day. I can’t wait for you to enjoy this creamy, crunchy, and wonderfully nutty fudge—it’s truly a treasure to have in your dessert repertoire!
Print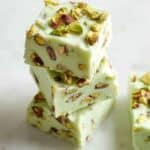
Pistachio White Chocolate Fudge Recipe
- Total Time: 35 minutes
- Yield: 16 squares (4 servings)
Description
This Pistachio Fudge recipe delivers a creamy, rich, and nutty treat featuring smooth white chocolate, crunchy pistachios, and a hint of vanilla. Perfect for a quick homemade dessert or gifting, it requires minimal ingredients and no baking. With an optional touch of green food coloring, it offers a festive and appealing look alongside its luscious flavor.
Ingredients
Fudge Mixture
- 2 cups white chocolate chips (about 12 oz)
- 1 can sweetened condensed milk (14 oz)
- 1 cup shelled pistachios, roughly chopped
- 1 teaspoon vanilla extract
- A pinch of salt
- Green food coloring (optional, for color)
Instructions
- Prepare the baking dish: Line an 8×8 inch baking dish with parchment paper, leaving some overhang on the sides for easier removal of the fudge later.
- Melt chocolate and milk: In a medium saucepan over medium-low heat, combine the white chocolate chips and sweetened condensed milk. Stir continuously until the chocolate chips are fully melted and the mixture is smooth.
- Add flavor and nuts: Remove the saucepan from heat. Stir in the vanilla extract, a pinch of salt, and the chopped pistachios. Add a few drops of green food coloring at this stage if you desire a festive green tint.
- Set the fudge: Pour the fudge mixture into the prepared baking dish. Use a spatula to spread it evenly across the dish for uniform thickness.
- Chill: Place the baking dish in the refrigerator and let it chill for at least 2 hours, or until the fudge is completely firm and set.
- Slice and serve: Once set, use the parchment overhang to lift the fudge out of the dish. Cut into 16 equal squares and serve immediately or store for later enjoyment.
- Enjoy your pistachio fudge: Savor this creamy, nutty homemade fudge as a delightful dessert or snack.
Notes
- If you prefer a dairy-free version, look for vegan white chocolate chips and a suitable condensed milk alternative.
- To enhance the texture, toast the pistachios lightly before chopping.
- The green food coloring is optional and purely for aesthetic purposes to give your fudge a festive look.
- Store leftover fudge in an airtight container in the refrigerator to maintain freshness for up to one week.
- For a softer fudge, reduce chilling time slightly but ensure it still firms up enough to cut cleanly.
- Prep Time: 10 minutes
- Cook Time: 10 minutes
- Category: Dessert
- Method: Stovetop
- Cuisine: American

