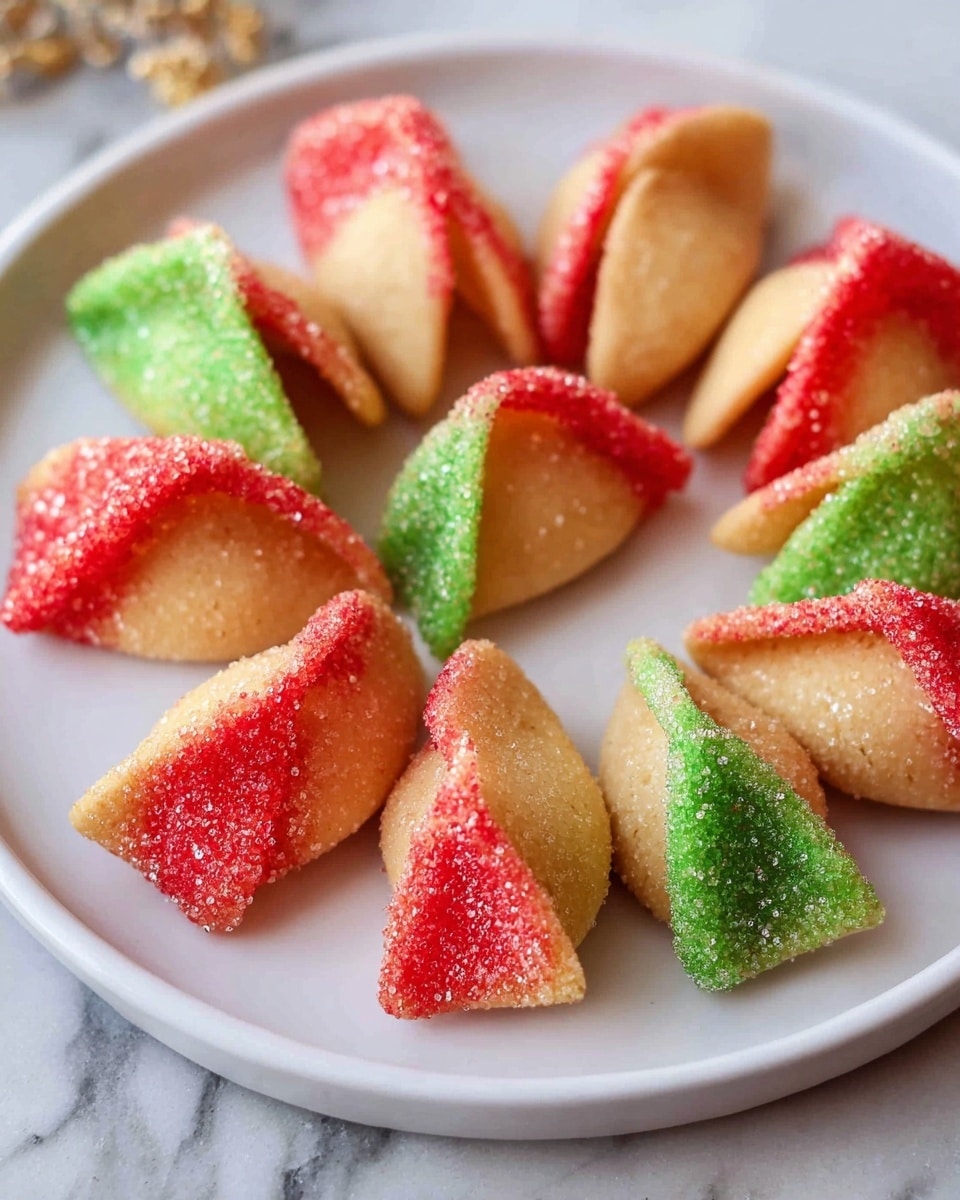
If you’re looking to add an extra sparkle to your next gathering, the Glitter Fortune Cookies Recipe is an absolute game-changer. These delightful cookies bring a magical twist to the classic treat by shimmering with edible glitter that catches the light and brings an irresistible charm. Beyond their sparkle, they still hold the charm of traditional fortune cookies with that crisp texture and hidden messages inside, making them perfect for parties, gifts, or just a fun snack that feels special. Once you try this recipe, you’ll find it’s a simple yet stunning way to impress friends and family with almost zero fuss.
Ingredients You’ll Need
Keeping the ingredients simple helps highlight the glitter’s magical effect while preserving the crispness and flavor of the classic fortune cookie. Each item serves a unique purpose, whether binding the glitter, adding shine, or simply providing the base cookie.
- Corn syrup: Acts as a sticky, glossy base that helps the edible glitter adhere beautifully to the cookie’s surface.
- Water: Lightens the corn syrup, making it easier to brush onto the cookies without pooling.
- Edible glitter: Available in multiple colors and adds that festive sparkle that transforms ordinary fortune cookies into dazzling treats.
- Fortune cookies: The classic crunchy cookie that holds your personalized messages and works perfectly as the canvas for glittering.
How to Make Glitter Fortune Cookies Recipe
Step 1: Prepare the Corn Syrup Mixture
Begin by whisking together the corn syrup and water in a small bowl until they are fully combined. Heating this mixture in the microwave for 30 seconds warms it just enough to make brushing easier without making it too runny. This warm syrup will act as the perfect adhesive for the glitter.
Step 2: Set Up Your Glitter Station
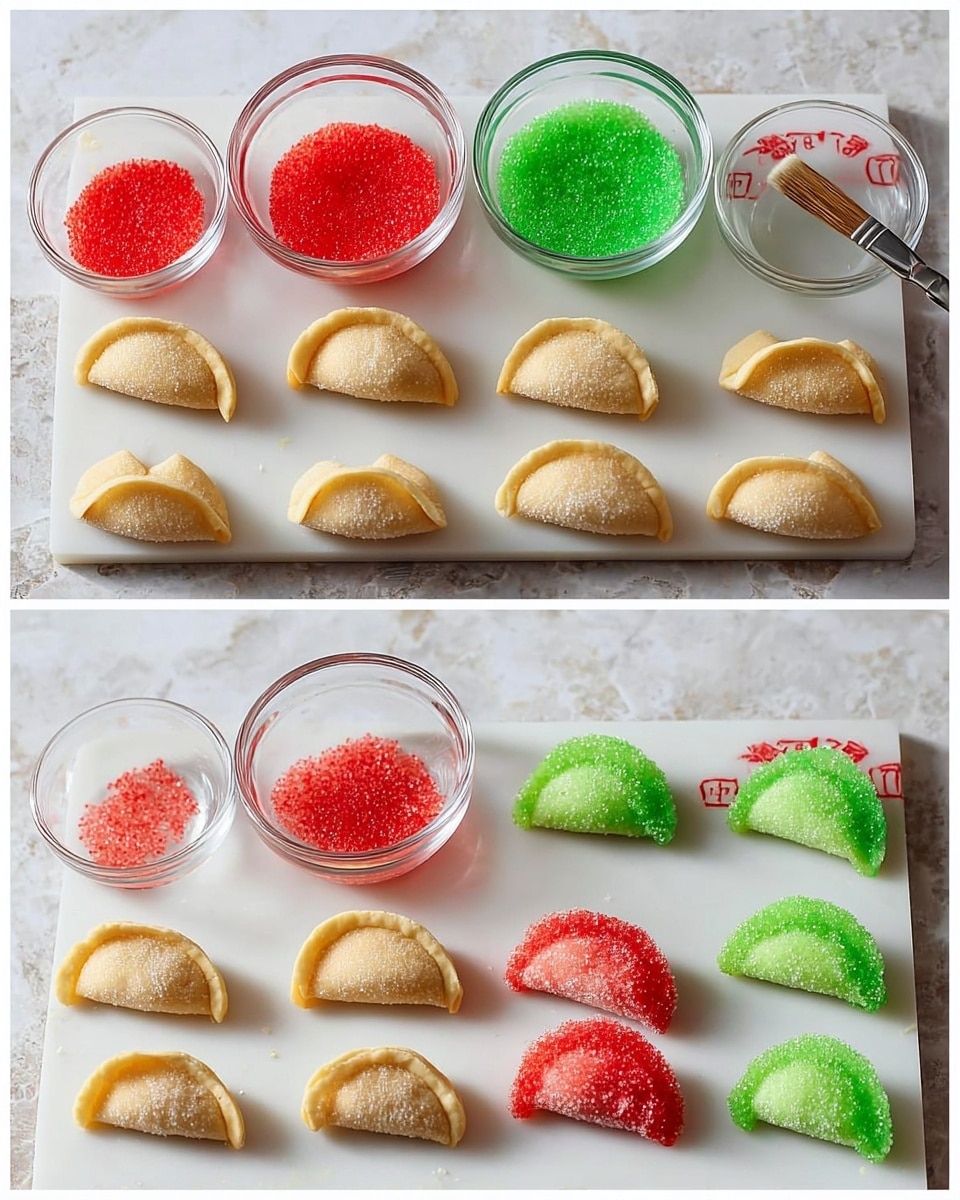
Organize your edible glitter colors in separate small bowls to create a fun and efficient “glitter fortune cookie making station.” This setup not only saves time but also allows you to experiment with different color combinations without mixing the glitters prematurely.
Step 3: Brush and Glitter the Cookies
Using a small pastry brush or food-safe paintbrush, gently brush the warm corn syrup mixture onto one corner of each fortune cookie. Next, sprinkle your chosen edible glitter over the sticky spot, watching it adhere instantly.
Step 4: Add Glitter to the Other Side
Repeat the brushing and sprinkling process on the opposite corner. This step lets you choose the same glitter color for a uniform look or a different one for a sparkling contrast. The sparkle from both corners catches the light beautifully from multiple angles.
Step 5: Finish Glitzing All Cookies
Continue the brushing and glittering until all 40 fortune cookies are gloriously coated. Let them sit for a minute to ensure the corn syrup sets, securing the glitter firmly in place and preventing any mess.
How to Serve Glitter Fortune Cookies Recipe
Garnishes
To elevate presentation even further, consider serving the glitter fortune cookies in decorative bowls or on trays lined with colorful tissue paper that complements your glitter colors. A sprinkle of edible flower petals or tiny fresh mint leaves around the edges can add a fresh and elegant contrast to the shimmering cookies.
Side Dishes
Glitter fortune cookies shine best when paired with light accompaniments, such as a pot of jasmine or green tea, which complements their subtle sweetness and adds a comforting warmth. Fresh fruit platters with vibrant berries also balance the sparkle and bring a fresh bite to your party table.
Creative Ways to Present
Try wrapping individual glittered fortune cookies in clear cellophane tied with colorful ribbons for party favors that guests will love to take home. You can also arrange them in mini decorative takeout boxes or set them alongside place cards for an interactive dessert experience at weddings or celebrations.
Make Ahead and Storage
Storing Leftovers
Once finished, store the glitter fortune cookies in an airtight container at room temperature to maintain their crunch and shine. Avoid humid environments as moisture can soften the cookies and dull the glitter’s sparkle.
Freezing
If you want to keep them fresh longer, these cookies freeze well. Wrap them tightly in plastic wrap and place them in an airtight container or freezer bag. When you’re ready to serve, simply thaw at room temperature to preserve both crunch and glitter brilliance.
Reheating
Since fortune cookies are best enjoyed crisp, if they lose their crunch, you can refresh them in a preheated oven at 300°F (150°C) for about 3 to 5 minutes. Just be careful not to overheat, as you don’t want to melt the glitter or burn the cookies!
FAQs
Can I use any type of glitter for this recipe?
It’s essential to use edible glitter specifically meant for food to ensure safety and avoid any harmful effects. Non-edible glitters are toxic and should never be used on treats.
How long do the glitter fortune cookies stay fresh?
Stored properly in an airtight container at room temperature, these cookies will remain crisp and beautiful for up to one week.
Can I make gluten-free glitter fortune cookies?
You can absolutely swap out traditional fortune cookies with gluten-free versions if you have dietary restrictions, then follow the glittering steps as usual.
Is it better to use a pastry brush or a paintbrush?
Either works well, but a small food-safe pastry brush is ideal for even application without soaking the cookies. Just make sure whatever you use is clean and safe for food contact.
Can I customize the fortunes inside the cookies?
Yes, many stores and online shops offer blank fortune cookies for customization, or you can carefully replace the existing fortunes with your own handwritten or printed messages before glittering.
Final Thoughts
There’s something truly enchanting about adding a sprinkle of edible glitter to the classic fortune cookie, and the Glitter Fortune Cookies Recipe makes it incredibly easy to create a fun, festive, and eye-catching treat. Whether you’re hosting a celebration or just want a sweet way to brighten up an ordinary day, these glittery delights will bring smiles and spark conversations. I can’t wait for you to try them out and shine a little glitter into your life!
Print
Glitter Fortune Cookies Recipe
- Total Time: 10 minutes
- Yield: 40 servings
Description
Add a sparkling twist to your traditional fortune cookies with this simple and fun recipe. Using edible glitter and a sweet corn syrup glaze, you can easily create dazzling glitter fortune cookies perfect for parties, celebrations, or special occasions. This no-cook decorative method brightens up ordinary fortune cookies with vibrant colors and an eye-catching shimmer.
Ingredients
Glaze
- ¼ cup corn syrup
- ¼ cup water
Decoration
- 2 tsp edible glitter (multiple colors, separated into bowls)
- 40 fortune cookies
Instructions
- Prepare the glaze: In a small bowl, whisk together the corn syrup and water until fully combined. Microwave the mixture for 30 seconds to warm it slightly, making it easier to brush onto the cookies.
- Set up decoration stations: Place each color of edible glitter in its own small bowl and arrange these bowls to create a glitter fortune cookie decorating station for easier access.
- Apply corn syrup glaze: Using a small pastry brush or any food-safe paintbrush, brush the warm corn syrup mixture onto one corner of a fortune cookie, ensuring a thin, even layer.
- Sprinkle glitter: Immediately after brushing the glaze, sprinkle your chosen color of edible glitter generously onto the glazed corner to make it stick and sparkle.
- Repeat on second corner: Brush the corn syrup glaze onto the opposite corner of the same fortune cookie, and sprinkle with the same or a different color of edible glitter to create a vibrant effect.
- Complete all cookies: Continue the brushing and glitter-sprinkling process on all 40 fortune cookies until each one is beautifully decorated with glitter on both corners.
Notes
- Ensure the glitter you use is edible and safe for consumption.
- The corn syrup glaze helps the glitter adhere to the cookies but avoid applying too thick a layer to prevent sogginess.
- You can customize the glitter colors based on the occasion or theme.
- Let the decorated cookies dry at room temperature for a few minutes before serving or packaging.
- Prep Time: 10 minutes
- Cook Time: 0 minutes
- Category: Dessert
- Method: No-Cook
- Cuisine: American

