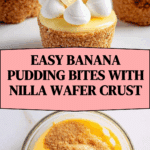
If you’re looking for a delightful and bite-sized treat that perfectly balances creamy banana goodness with a crispy, buttery cookie crust, the Banana Pudding Bites Recipe is your new best friend. These charming little desserts combine the nostalgic flavors of classic banana pudding with a fun, easy-to-eat presentation that’s perfect for any occasion. Whether you want a sweet snack, a simple dessert for a party, or just a quick way to satisfy your banana pudding cravings, these bites hit all the right notes with minimal fuss and maximum flavor.
Ingredients You’ll Need
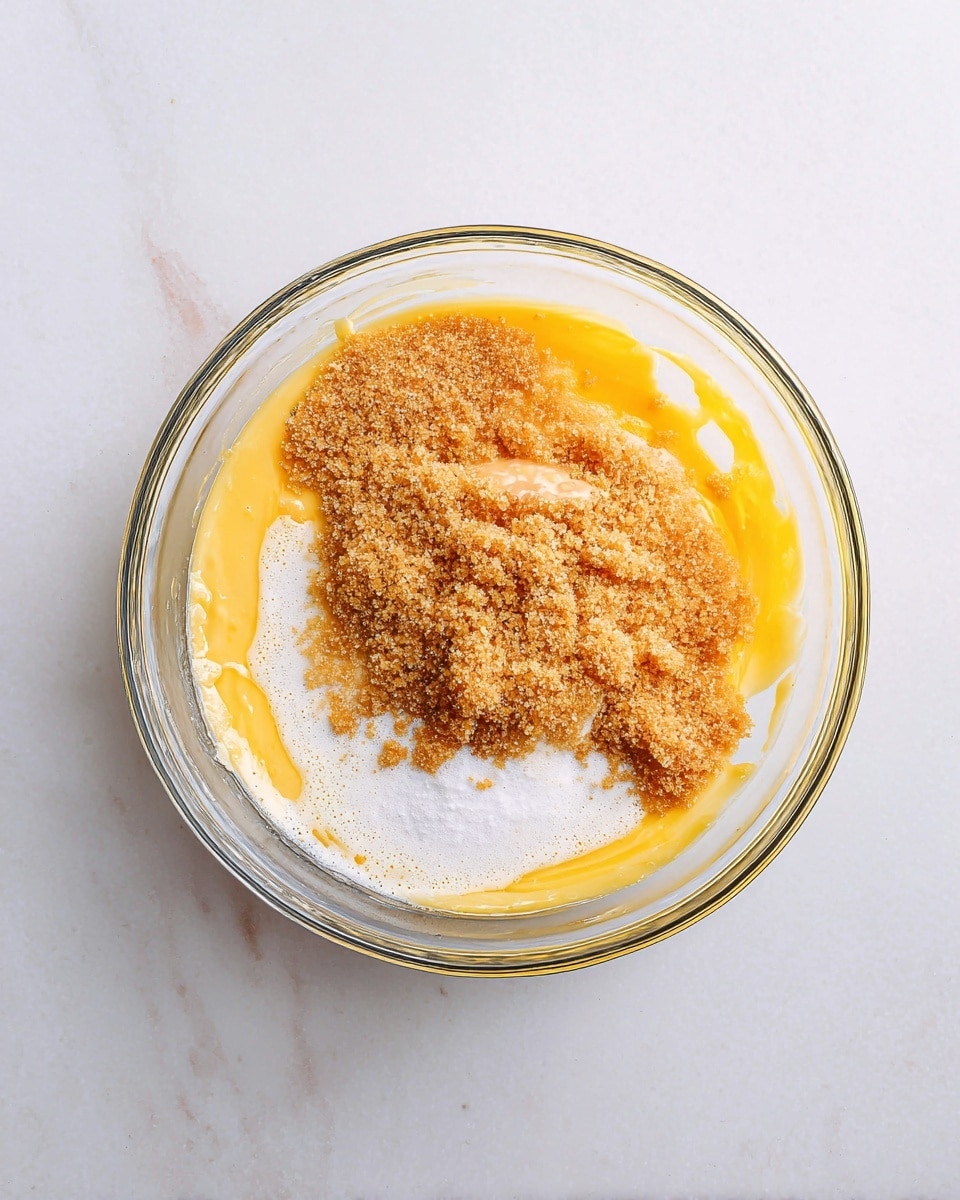
Every ingredient in this Banana Pudding Bites Recipe plays a crucial role, keeping the flavors fresh and the texture just right. The combination is straightforward yet essential for creating that perfect harmony of crunch, creaminess, and sweetness.
- Mini Nilla wafer crumbs: The base of your crust, providing a buttery crunch and classic cookie flavor.
- Unsalted butter (melted): Helps bind the crumbs together and adds richness without overpowering the banana flavors.
- Salt (optional): Just a pinch to balance the sweetness and enhance the overall taste.
- Instant banana cream pudding mix (3.4 ounce box): The star ingredient that delivers that unmistakable banana taste with creamy texture.
- Cold milk (1 ¼ cups): Used to prepare the pudding—less than the box calls for, ensuring a firmer, more luscious filling.
- Cool Whip or whipped cream: Adds a light, airy topping that complements the dense pudding perfectly.
- Banana slices: Fresh and sweet, the natural fruit touch that brightens every bite.
- Mini Nilla wafers: For garnish, adding extra crunch and that nostalgic finish.
How to Make Banana Pudding Bites Recipe
Step 1: Prepare Your Workspace and Crust
Start by preheating your oven to 350 degrees Fahrenheit and lightly grease a 24-cup mini muffin pan. Next, pulse your Mini Nilla wafers into fine crumbs using a food processor or blender to create the base of your bites. In a medium bowl, combine these crumbs with melted unsalted butter and a pinch of salt if desired, mixing until everything holds together beautifully.
Step 2: Form the Cookie Cups
Distribute about 1½ tablespoons of the crumb mixture into each muffin cup. Use your fingers to press the crumbs firmly up the sides and bottom, forming little cups. Pressing tightly ensures the crust won’t crumble once baked. Pop the pan in the oven for 10 minutes, then let the cookie cups cool completely on a wire rack to achieve that perfect crispness before filling.
Step 3: Whisk Up the Banana Cream Pudding
In a large bowl, combine the banana pudding mix with 1¼ cups of cold milk and whisk together. Using less milk than suggested on the package thickens the pudding, giving you that rich, luscious texture perfect for spooning into your cookie cups. Keep whisking until you notice it start to thicken—this is the moment when flavor and consistency align beautifully.
Step 4: Assemble the Banana Pudding Bites
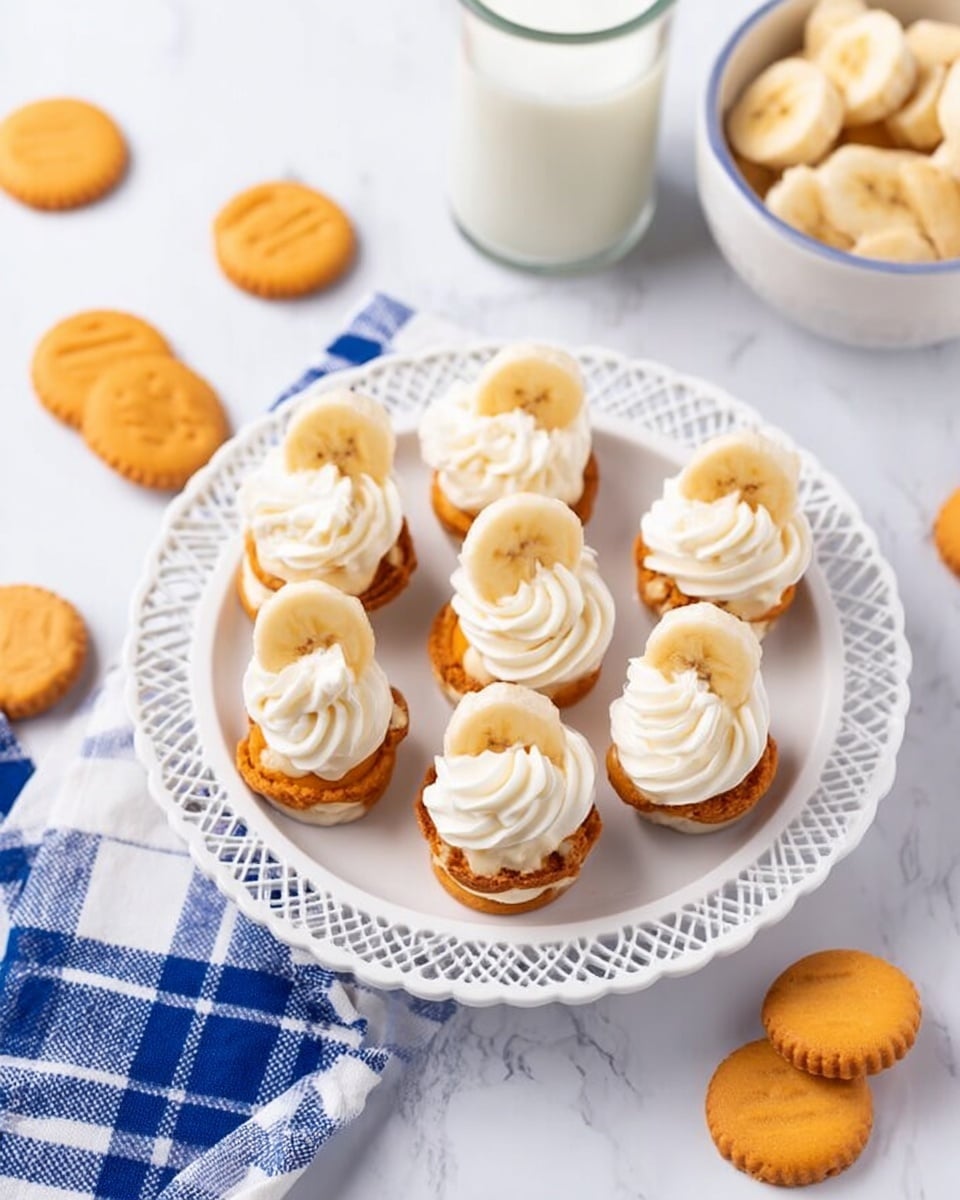
Spoon a generous tablespoon of the thickened pudding into each cooled cookie cup. Top each one with a fluffy dollop of Cool Whip or freshly whipped cream to add a melt-in-your-mouth lightness. Finally, crown each bite with a fresh banana slice and a Mini Nilla wafer, adding layers of texture and that iconic cookie crunch you know and love.
How to Serve Banana Pudding Bites Recipe
Garnishes
While the classic banana slice and Nilla wafer topping are stunning on their own, feel free to get creative! A sprinkle of toasted coconut flakes or a dusting of cinnamon can add a subtle aroma and extra visual appeal. If you love nuts, finely chopped pecans or walnuts add a delightful crunch and depth of flavor. These final touches make your Banana Pudding Bites Recipe even more irresistible.
Side Dishes
These bites are such a crowd-pleaser that they match effortlessly with many easy sides. Serve alongside a chilled glass of milk, hot coffee, or even a fruity iced tea to balance the sweetness. If you want to elevate your dessert spread, pair them with fresh berries or a light fruit salad; the tangy contrast offers a refreshing balance to the creamy banana pudding.
Creative Ways to Present
For parties or gatherings, arrange these Bite-sized delights on a beautiful platter with banana leaves or parchment paper for a natural look. You can also use colorful mini cupcake liners to add a playful touch that lures guests in at first glance. Another fun idea is to layer them in clear glass jars for an adorable presentation that shows off every delicious layer.
Make Ahead and Storage
Storing Leftovers
If you have extras, you’re in luck! Store your Banana Pudding Bites Recipe in an airtight container in the refrigerator for up to three days. Make sure they’re covered well to keep the cookie crust from softening too quickly. This way, you get to enjoy that perfect texture in every bite, even after a few days.
Freezing
While these bites are best enjoyed fresh, you can freeze the baked cookie cups alone in an airtight container for up to a month. When you’re ready to eat, thaw the cups fully before filling with freshly made pudding and toppings to maintain the best texture and flavor.
Reheating
Since the crust is baked separately, you won’t need to reheat the assembled bites. However, if you want to slightly warm the cookie cups before filling, a quick 2-3 minutes in a 300-degree oven will refresh their crispiness. Avoid heating the pudding or the entire assembled bite to preserve its creamy integrity.
FAQs
Can I use homemade pudding instead of instant banana pudding mix?
Absolutely! Homemade banana pudding made with fresh bananas and a custard base can add a wonderful depth of flavor. Just be mindful of the consistency—it should be firm enough to hold in the cookie cups without running.
What if I don’t have Mini Nilla wafers?
You can substitute with other vanilla-flavored cookies or wafers, but remember that the crumb texture and flavor may vary slightly. Graham crackers or digestive biscuits can also work if finely crushed.
How ripe should the bananas be for the slices?
Choose bananas that are ripe but still firm to the touch; overly ripe bananas can become mushy and may affect the texture of the bites. Firm slices hold up better and give you that perfect balance of fresh banana flavor.
Can I make these gluten-free?
Definitely! Look for gluten-free vanilla wafers to pulse into crumbs. The rest of the ingredients are naturally gluten-free, making it an easy dessert for those with gluten sensitivities.
How long does it take for the pudding to thicken?
Typically, the pudding mixture takes about 5 minutes of whisking and resting to reach the ideal thick consistency. Keep an eye on it, and once it holds its shape but is still creamy, it’s ready for the cookie cups.
Final Thoughts
I can’t recommend the Banana Pudding Bites Recipe enough—it’s a sweet little package of nostalgia, freshness, and fun that’s sure to brighten any day. Whether you’re treating yourself, impressing guests, or making a simple family dessert, these bites deliver smiles and happy taste buds every single time. So give this recipe a whirl and enjoy every delicious bite of your own homemade banana pudding perfection!
Print
Banana Pudding Bites Recipe
- Total Time: 25 minutes
- Yield: 24 servings
- Diet: Vegetarian
Description
These Banana Pudding Bites are a delightful mini dessert featuring a crunchy Nilla wafer crust baked to golden perfection, filled with thick, creamy banana pudding, and topped with whipped cream, fresh banana slices, and a mini Nilla wafer for an irresistible treat perfect for parties or snacks.
Ingredients
Crust
- 2 cups Mini Nilla wafer crumbs
- 8 tbsp unsalted butter, melted
- ⅛ teaspoon salt (optional)
Pudding Filling
- 1 box instant banana cream pudding mix (3.4 ounce size)
- 1 ¼ cup cold milk
Toppings
- Cool Whip or whipped cream
- 24 banana slices
- 24 Mini Nilla wafers
Instructions
- Preheat and Prepare Pan: Preheat your oven to 350°F (175°C). Lightly grease a 24-cup mini muffin pan using non-stick cooking spray and set it aside for later use.
- Make Nilla Crumbs: Using a food processor or blender, pulse the Mini Nilla wafers until you achieve fine crumbs that will form the crust base.
- Combine Crust Ingredients: In a medium mixing bowl, mix the Nilla wafer crumbs with the melted unsalted butter and optional salt, stirring thoroughly to blend the ingredients evenly.
- Form Crusts: Spoon about 1½ tablespoons of the Nilla crumb mixture into each muffin cup. Press the crumbs firmly against the bottom and sides of each cup with your fingers to pack them tightly, ensuring the crusts stay intact after baking.
- Bake Crusts: Bake the crusts at 350°F for 10 minutes or until they turn a golden brown color. Remove from oven and place the pan on a wire rack to cool completely before filling.
- Prepare Pudding: In a large bowl, whisk together the instant banana pudding mix and 1¼ cups of cold milk until the pudding begins to thicken. Using less milk than recommended ensures a thicker, richer consistency.
- Fill Cups: Once the pudding has thickened to the desired consistency, spoon about one tablespoon of pudding into each cooled crust-lined muffin cup.
- Add Whipped Topping: Top each pudding-filled bite with a dollop of Cool Whip or your choice of whipped cream for added creaminess.
- Add Garnishes: Place a fresh banana slice and a mini Nilla wafer on top of each dessert bite for decoration and additional flavor and crunch.
- Serve and Enjoy: Serve these banana pudding bites chilled or at room temperature and enjoy this easy, crowd-pleasing mini dessert.
Notes
- Press the crust mixture firmly into the muffin cups to avoid cracking or crumbling after baking.
- Using less milk than the pudding package calls for results in a thicker pudding perfect for these bites.
- Allow the crusts to cool completely before adding the pudding filling to prevent melting or sogginess.
- These bites can be stored in the refrigerator for up to 2 days for best freshness.
- For a dairy-free version, substitute Cool Whip and milk with suitable dairy-free alternatives.
- Prep Time: 15 minutes
- Cook Time: 10 minutes
- Category: Dessert
- Method: Baking
- Cuisine: American
