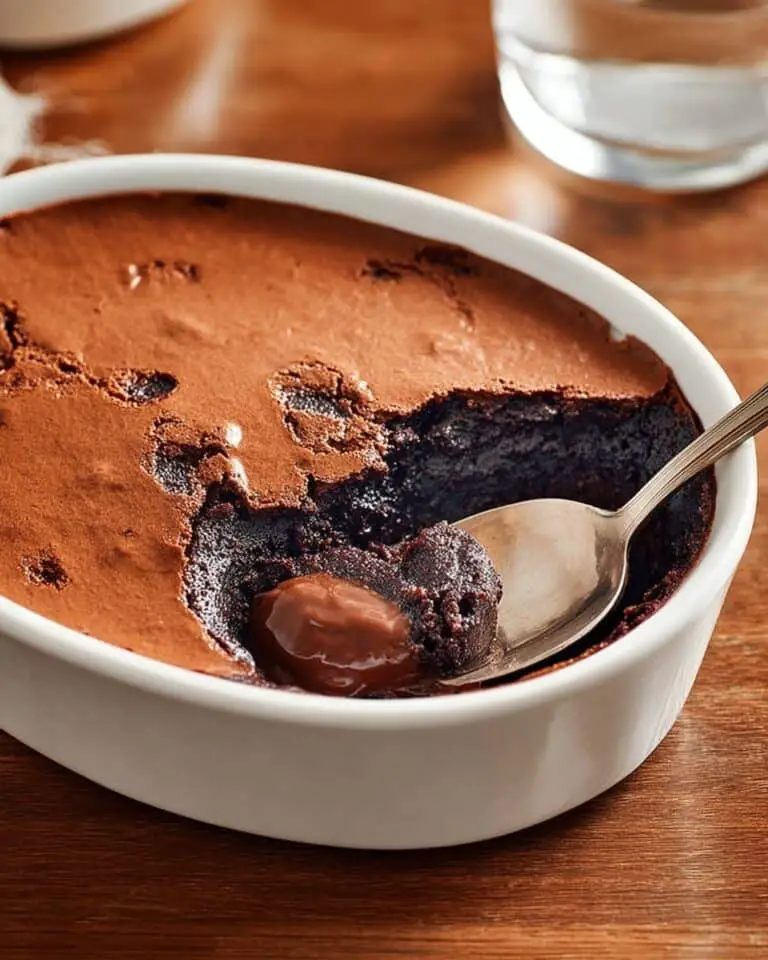
If you love the rich, indulgent aroma of chocolate with a bold coffee kick, then this Espresso Brownies Recipe is about to become your new favorite treat. These brownies combine the deep, velvety taste of semi-sweet chocolate with just the right amount of espresso powder to create a dessert that feels both decadent and sophisticated. Each bite delivers a moist, fudgy texture that melts in your mouth, intensified by the perfect marriage of cocoa and coffee flavors that will have your friends asking for seconds before you even finish your first square.
Ingredients You’ll Need
Getting these brownies just right means having the right ingredients on hand. Each component here plays a crucial role: from providing the fudgy texture to enhancing that irresistible espresso-chocolate flavor combo.
- Butter (½ cup, cubed): Adds rich moisture and creates a smooth, tender crumb.
- Semi-sweet chocolate (4.5 ounces, broken into pieces): Gives intense chocolate depth and lusciousness.
- Granulated sugar (1 cup): Sweetens perfectly and contributes to that classic brownie chewiness.
- Eggs (3): Bind everything together while adding body and richness.
- Vanilla extract (1 teaspoon): Enhances the chocolate flavor with subtle warmth.
- All-purpose flour (¾ cup): Provides structure without weighing the brownies down.
- Cocoa powder (¼ cup): Deepens the chocolate intensity and balances the sweetness.
- Instant espresso powder (¼ cup): Packs a punch of coffee flavor that elevates the chocolate.
- Salt (½ teaspoon): Brightens all the flavors and tames sweetness.
- Semi-sweet chocolate chips (1 cup): Offers pockets of gooey melted chocolate in every bite.
How to Make Espresso Brownies Recipe
Step 1: Prep Your Oven and Pan
Start by preheating your oven to 320°F (160°C). Then, line a 9-inch square baking tin with parchment paper. This step might sound simple, but it ensures your brownies come out perfectly shaped and release effortlessly from the pan when they’re ready.
Step 2: Melt Butter and Chocolate
Place the cubed butter and broken semi-sweet chocolate pieces into a microwave-safe bowl. Heat them in 30-second intervals, stirring in between to help everything melt evenly. This careful melting creates a glossy, smooth base essential for fudgy brownies.
Step 3: Mix in Sugar, Eggs, and Vanilla
Next, whisk the granulated sugar, eggs, and vanilla extract into the melted chocolate and butter mixture. Whisk thoroughly until the batter is smooth and silky, setting the stage for a perfectly combined batter that will yield moist brownies.
Step 4: Add Dry Ingredients and Chocolate Chips
Incorporate the all-purpose flour, cocoa powder, instant espresso powder, and salt into your wet ingredients. Gently whisk these together just until combined to avoid tough brownies. Finally, fold in the chocolate chips for those delicious pockets of melted chocolate surprises.
Step 5: Bake to Perfection
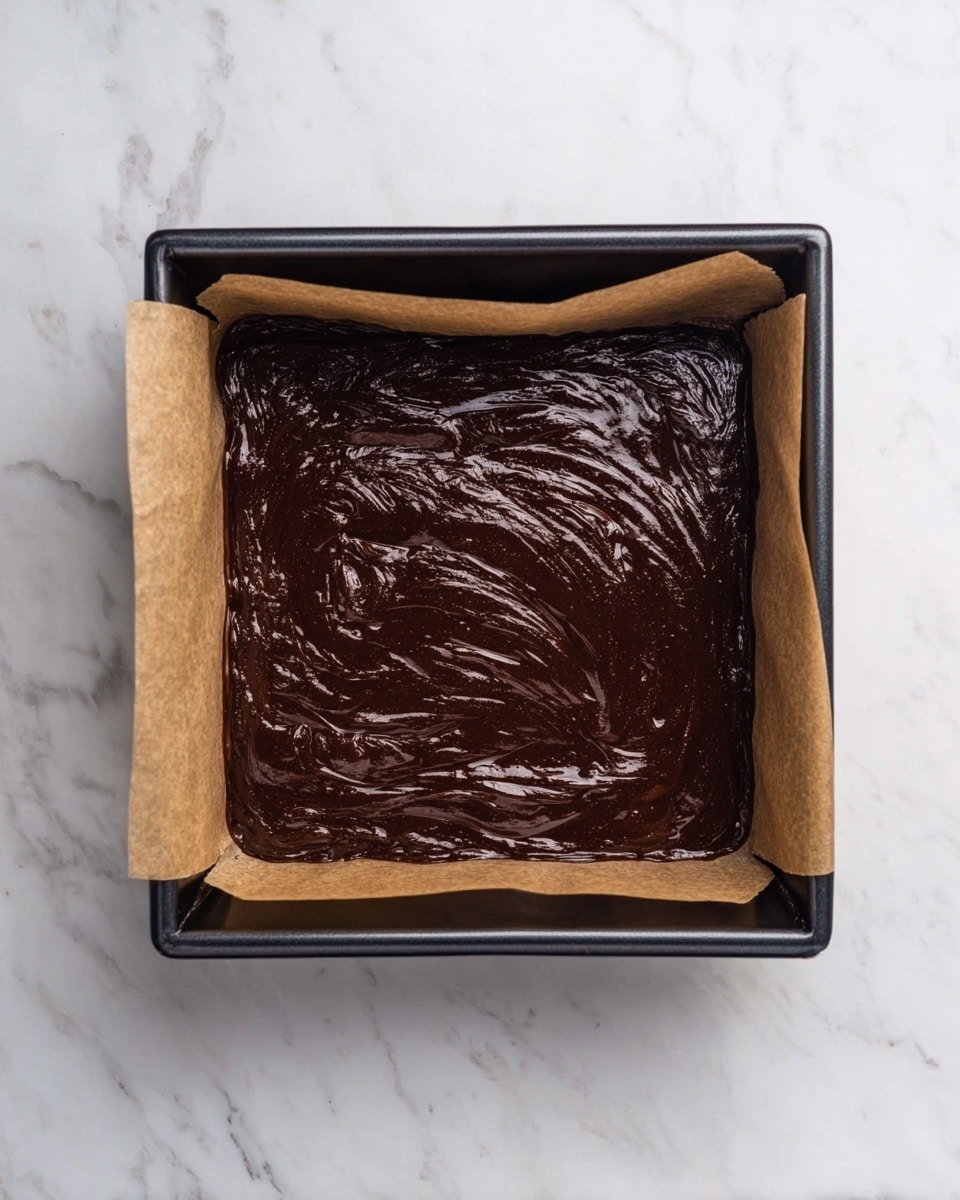
Pour your batter into the prepared pan, smoothing the top with a spatula. Bake for about 35 minutes. You’re looking for set edges with a center that still feels soft—a sign of those wonderfully fudgy brownies everyone loves. Let them cool completely before slicing.
How to Serve Espresso Brownies Recipe
Garnishes
While these espresso brownies are fantastic on their own, a few simple garnishes can elevate them even further. A light dusting of powdered sugar or a sprinkle of finely chopped toasted nuts adds a lovely texture contrast and visual appeal. For an extra indulgent touch, drizzle some melted dark chocolate or a swirl of chocolate ganache over the top.
Side Dishes
Pair your espresso brownies with a scoop of vanilla bean ice cream or a dollop of freshly whipped cream to balance the rich chocolate and espresso flavors. A cup of black coffee or a creamy latte alongside also perfectly complements the coffee notes in the brownies for an irresistibly harmonious dessert experience.
Creative Ways to Present
Think beyond the classic square! Cut these brownies into bite-sized cubes and skewer them with fresh berries for a fun, shareable party treat. You can also sandwich a layer of these brownies with creamy mascarpone or coffee-flavored frosting for a layered dessert that looks as fancy as it tastes.
Make Ahead and Storage
Storing Leftovers
Once cooled, store your espresso brownies in an airtight container at room temperature for up to four days. This keeps them moist and delicious, ready whenever a chocolate and coffee craving strikes.
Freezing
If you want to enjoy these brownies later, they freeze beautifully. Wrap individual portions tightly in plastic wrap and then place them in a freezer-safe bag or container. They’ll keep well for up to three months without losing their fudgy texture.
Reheating
To bring your frozen brownies back to life, let them thaw at room temperature or warm them gently in the microwave for about 15-20 seconds. This quick reheat makes them soft and gooey again, as if freshly baked.
FAQs
Can I use brewed espresso instead of instant espresso powder?
Using brewed espresso will add more liquid to the batter, which could affect the texture. Instant espresso powder is best because it provides a concentrated flavor without extra moisture. If you do use brewed espresso, reduce some of the wet ingredients accordingly.
What if I don’t have cocoa powder on hand?
Cocoa powder is essential here for that rich chocolate flavor and dry ingredient balance, but if you’re out, you might substitute with melted dark chocolate. Keep in mind this will change the texture and sweetness slightly.
How do I know when the brownies are done?
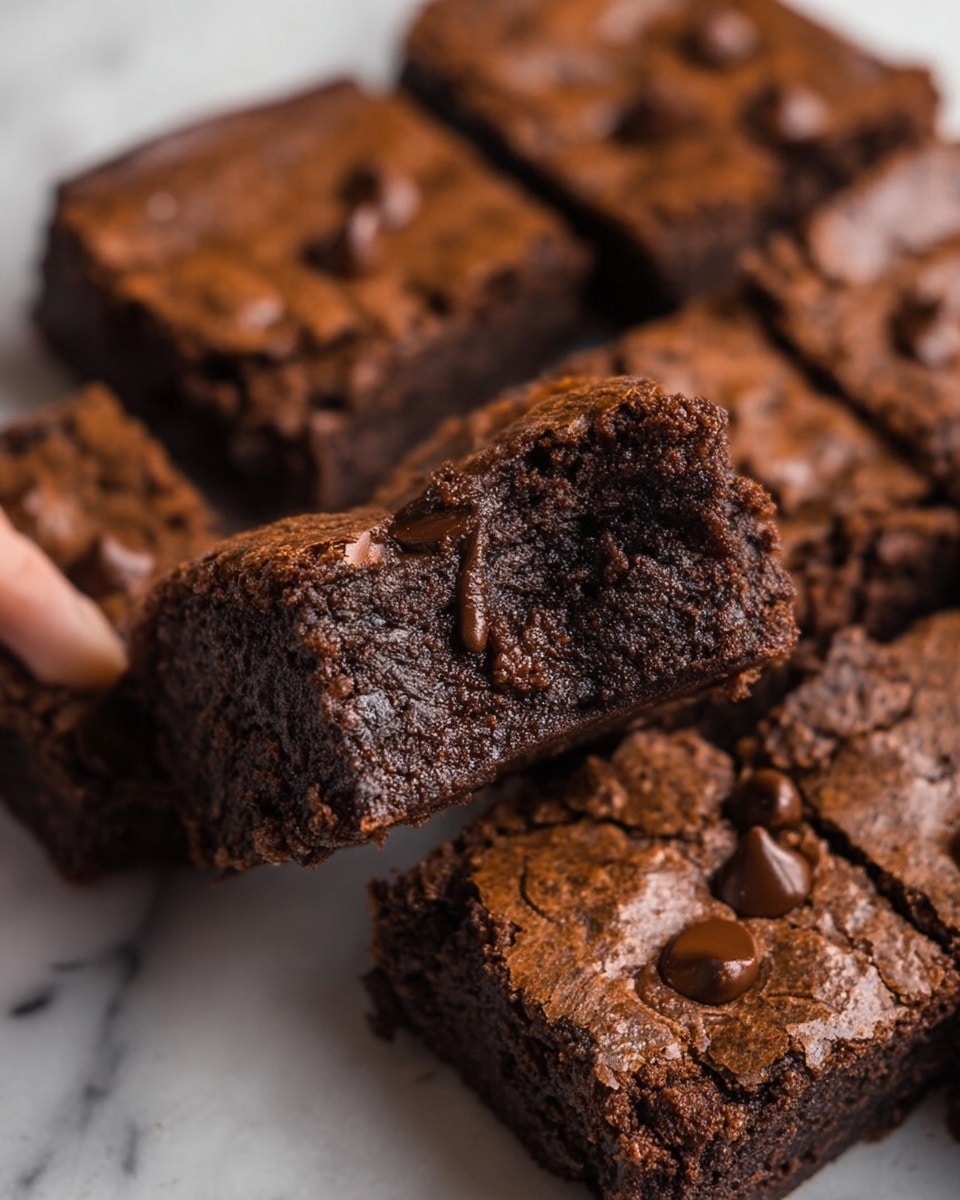
The edges should look set and slightly pulling away from the pan while the center remains soft with just a slight jiggle. Overbaking will dry them out, so it’s better to check a few minutes early and gently test with a toothpick.
Can I add nuts or other mix-ins?
Absolutely! Chopped walnuts, pecans, or even a handful of shredded coconut add great texture and flavor contrasts that complement the chocolate and espresso beautifully.
Are these brownies gluten-free?
As written, this recipe uses all-purpose flour, which contains gluten. To make them gluten-free, substitute with a gluten-free flour blend that measures cup-for-cup in place of all-purpose flour.
Final Thoughts
There is something truly special about combining chocolate and espresso in a brownie, and this Espresso Brownies Recipe nails it every single time. With simple ingredients and straightforward steps, you can create a dessert that feels both homemade and gourmet. Treat yourself and your loved ones to this fudgy, flavorful delight that’s perfect for any occasion. I promise, once you make these brownies, they’ll become a staple in your baking repertoire.
Print
Espresso Brownies Recipe
- Total Time: 1 hour 20 minutes
- Yield: 16 servings
- Diet: Vegetarian
Description
These Espresso Brownies are rich, fudgy, and infused with the deep, bold flavor of espresso. Perfect for coffee lovers, these decadent treats combine semi-sweet chocolate, cocoa powder, and instant espresso powder to create an irresistible dessert with a perfectly chewy texture and a hint of coffee kick.
Ingredients
Chocolate Base
- ½ cup butter (cubed)
- 4.5 ounces semi-sweet chocolate (broken into pieces)
- 1 cup granulated sugar
- 3 eggs
- 1 teaspoon vanilla extract
Dry Ingredients
- ¾ cup all-purpose flour
- ¼ cup cocoa powder
- ¼ cup instant espresso powder
- ½ teaspoon salt
Mix-ins
- 1 cup semi-sweet chocolate chips
Instructions
- Preheat Oven and Prepare Pan: Preheat your oven to 320°F (160°C). Line a 9-inch (20cm) square baking tin with parchment paper to prevent sticking and set it aside.
- Melt Butter and Chocolate: Place the cubed butter and semi-sweet chocolate pieces in a large microwave-safe mixing bowl. Microwave in 30-second intervals, stirring between each, until everything is fully melted and smooth.
- Combine Sugar, Eggs, and Vanilla: Add the granulated sugar, eggs, and vanilla extract to the melted chocolate mixture. Whisk thoroughly until the batter is smooth and all ingredients are well combined.
- Add Dry Ingredients: Whisk in the all-purpose flour, cocoa powder, instant espresso powder, and salt into the batter just until combined. Be careful not to overmix. Then, gently fold in the semi-sweet chocolate chips.
- Bake: Pour the batter into the prepared baking tin, smoothing the top evenly. Bake for 35 minutes or until the edges are set but the center remains soft and fudgy.
- Cool and Serve: Allow the brownies to cool completely in the tin. Once cooled, slice into 16 squares and serve.
Notes
- Microwaving the butter and chocolate in short bursts prevents burning and ensures smooth melting.
- Do not overmix after adding flour to keep the brownies tender and fudgy.
- Cooling completely before slicing helps the brownies hold their shape.
- For a stronger coffee flavor, use espresso powder to taste or add a shot of espresso.
- Store brownies in an airtight container at room temperature for up to 3 days or refrigerate for longer freshness.
- Prep Time: 15 minutes
- Cook Time: 35 minutes
- Category: Dessert
- Method: Baking
- Cuisine: American

