If you’re on the hunt for a cozy yet wonderfully flavorful treat, this Gluten-Free Pumpkin Scones Recipe is your new best friend. Imagine tender, buttery scones bursting with warm autumn spices and the natural sweetness of pumpkin, all without gluten to hold you back. Perfect for breakfast, an afternoon pick-me-up, or sharing with friends around the table, these scones bring that irresistible homemade charm paired with a luscious glaze duo that’s sure to have everyone asking for seconds. They’re straightforward to make yet impressive in every bite, capturing the essence of fall while staying delightfully light and gluten-free.
Ingredients You’ll Need
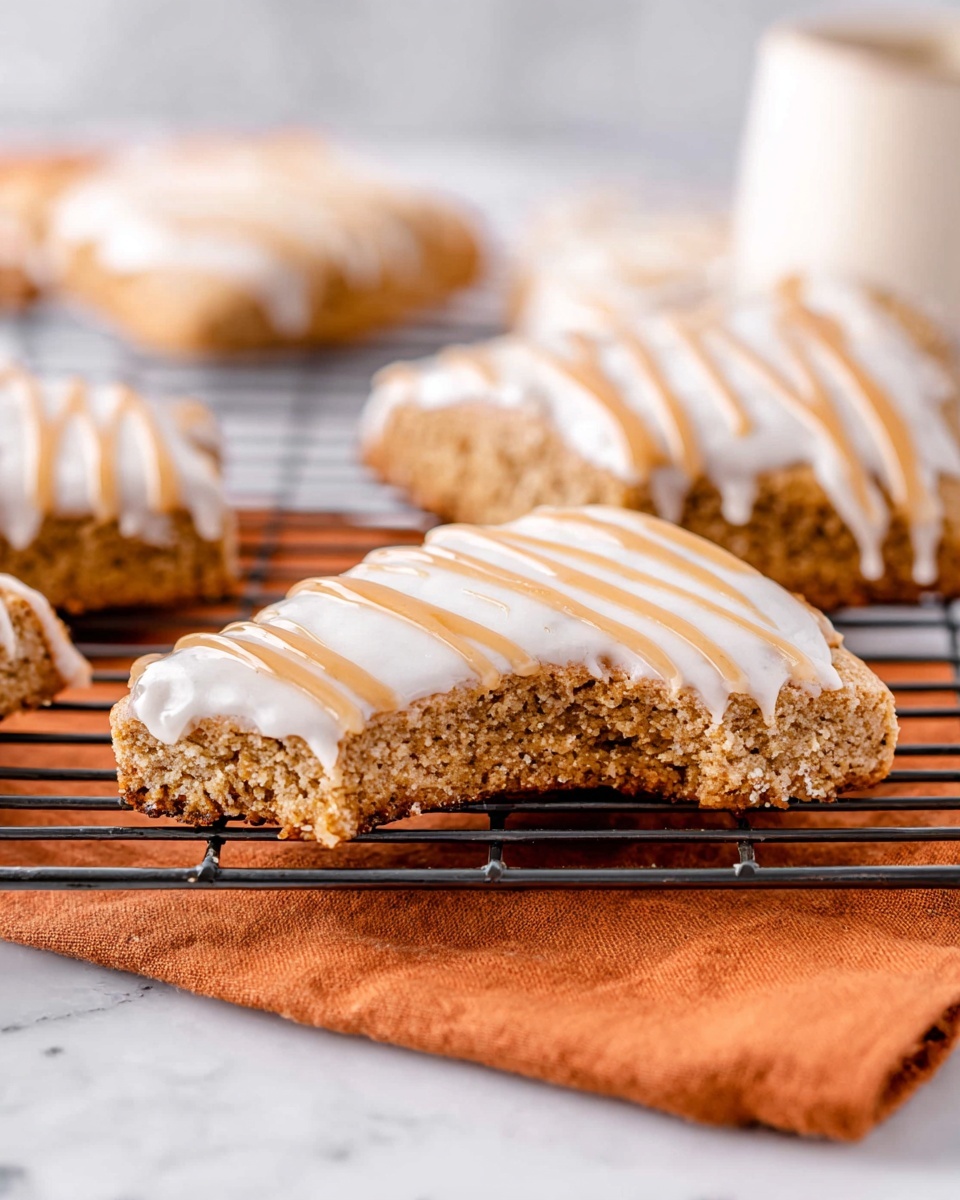
These ingredients are simple but essential, each playing a starring role to create the perfect balance of texture, flavor, and that vibrant pumpkin hue. From the gluten-free flour that forms a tender base to the fragrant spices that give you instant cozy vibes, every item is chosen to elevate this scone experience.
- 2 cups gluten-free flour: This forms the soft, tender body of your scones without gluten, ensuring a light crumb.
- ½ cup brown sugar (lightly packed): Adds caramel notes and natural sweetness that complement pumpkin perfectly.
- 2 teaspoons baking powder: Helps the scones rise beautifully for a light texture.
- ½ teaspoon baking soda: Works with the acid in pumpkin to give a slight lift and tenderness.
- 2 ½ teaspoons cinnamon: The warm spice that instantly evokes autumn coziness.
- ½ teaspoon ginger: Adds a subtle zing that cuts through the sweetness.
- ½ teaspoon nutmeg: Deepens the spiced flavor profile with a nutty aroma.
- ¼ teaspoon cloves: Delivers a hint of bold spice that rounds out the taste.
- ¼ teaspoon allspice: Brings complexity with its mix of cinnamon, nutmeg, and cloves notes.
- ¼ teaspoon salt: Balances sweetness and enhances all other flavors.
- ½ cup cold butter, cubed: The key to flaky layers and rich flavor; keep it cold to get that perfect texture.
- ½ cup pumpkin puree: Adds moisture, vibrant color, and that unmistakably pumpkin essence.
- 1 egg: Helps bind ingredients and adds richness.
- 2 tablespoons heavy cream: Keeps the dough tender and moist.
- ¾ cup powdered sugar (for glaze): Sweetens and smooths the icing on top.
- 1 tablespoon heavy cream (for glaze): Thins the glaze to just the right consistency.
- 1 tablespoon pumpkin puree (for pumpkin glaze): Infuses a bright pumpkin flavor into the finishing touch.
- 1 teaspoon pumpkin pie spice (for pumpkin glaze): Adds layered warmth to the pumpkin glaze.
How to Make Gluten-Free Pumpkin Scones Recipe
Step 1: Prepare Your Oven and Dry Ingredients
Start by preheating your oven to 400 degrees Fahrenheit and lining a baking pan with parchment paper to prevent sticking. In a large bowl, whisk together all your dry ingredients – the gluten-free flour, brown sugar, baking powder, baking soda, spices, and salt. This blend of aromatic spices will ensure every bite is bursting with warmth.
Step 2: Cut in the Butter
Next, add the cold, cubed butter to your dry mixture. Using a pastry cutter or fork, cut it in until the mixture turns crumbly and resembles coarse crumbs. This step is crucial because those bits of butter create the flaky texture that gives scones their irresistible tenderness.
Step 3: Combine Wet Ingredients
In a smaller bowl, whisk together the pumpkin puree, egg, and heavy cream. Now gently fold this wet mixture into your crumbly dry ingredients just until everything comes together. Be careful not to overmix—you want the dough to hold together but remain light and tender.
Step 4: Shape the Dough
Turn your dough out onto a lightly floured surface and gently knead it flat into a circle roughly ¾ inch thick. This shape is perfect for evenly sized scones. Use a sharp knife or bench scraper to cut the dough carefully into 8 wedges. Each wedge will bake into a perfect scone.
Step 5: Bake to Perfection
Transfer those wedges to your prepared baking sheet, spacing each about one inch apart to allow for expansion. Bake for 13 to 15 minutes, or until a toothpick inserted in the center comes out clean and the tops are a lovely golden color. Remove them to a cooling rack to rest before glazing.
Step 6: Make the Frosting and Pumpkin Glaze
While your scones cool, prepare two kinds of glaze: a simple white frosting and a pumpkin-spiced glaze. Mix powdered sugar with heavy cream for the base frosting until it’s smooth and creamy. In a separate bowl, combine powdered sugar, pumpkin puree, pumpkin pie spice, and heavy cream for the pumpkin glaze. Transfer the pumpkin glaze into a piping bag for easy drizzling.
Step 7: Frost and Decorate
Once the scones are cool, spread about one tablespoon of the white frosting over each scone. Let these set for about 5 minutes to firm up slightly before drizzling the spiced pumpkin glaze over the top using your piping bag. Allow the glazes to set for another 5 minutes and then get ready to enjoy!
How to Serve Gluten-Free Pumpkin Scones Recipe
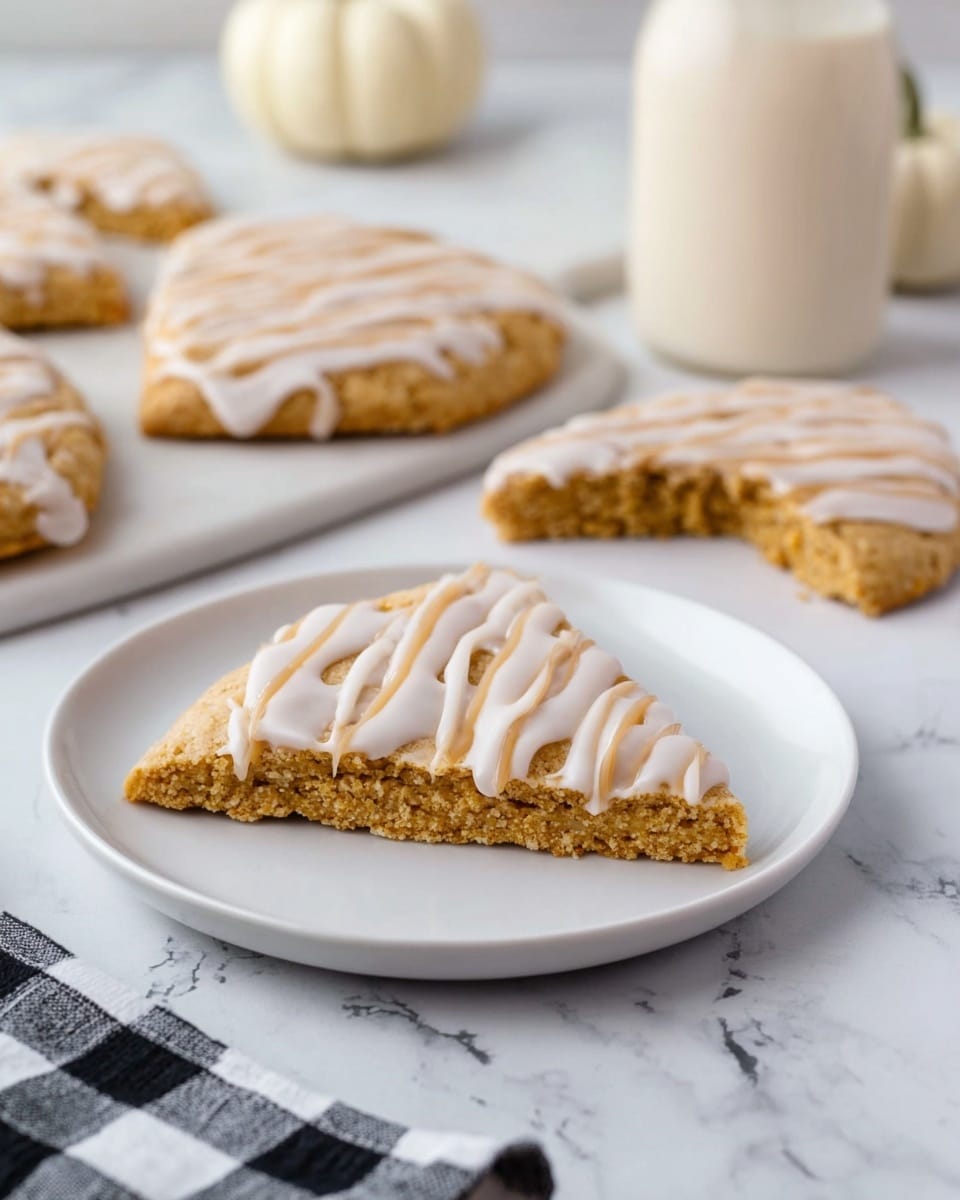
Garnishes
For an extra special touch, sprinkle a few toasted pepitas or chopped pecans on top of the pumpkin glaze before it sets. A light dusting of cinnamon sugar after glazing can also add a sparkling finish that’s just as delightful to the eyes as it is to the taste buds.
Side Dishes
These scones shine paired with a hot cup of chai tea, cinnamon-spiced coffee, or a creamy latte. For a more filling treat, serve alongside fresh seasonal fruit like sliced apples or pears, or a scoop of vanilla yogurt that complements the spices without overwhelming the delicate pumpkin flavor.
Creative Ways to Present
Turn your scones into a charming dessert platter by stacking them on a rustic wooden board with small bowls of honey, clotted cream, or even a tangy cranberry compote. They also make fantastic gifts when wrapped prettily with twine and a sprig of cinnamon stick for that festive autumn vibe.
Make Ahead and Storage
Storing Leftovers
You can store leftover scones in an airtight container at room temperature for up to two days without losing their tender crumb. Just make sure they’re fully cooled before storing to prevent condensation and sogginess.
Freezing
Want to enjoy these scones later? Wrap each one individually in plastic wrap and place them in a freezer-safe bag. They’ll keep beautifully frozen for up to two months. Freezing preserves their flavor and texture so you can simply pop them out as needed.
Reheating
To reheat, thaw frozen scones at room temperature and then warm in a 350-degree oven for about 5 to 8 minutes. This brings back their fresh-baked warmth and slightly crisp edges. Avoid microwaving if possible, as it can make the scones rubbery.
FAQs
Can I use canned pumpkin instead of fresh pumpkin puree?
Absolutely! Canned pumpkin puree is actually perfect for this recipe, providing consistent moisture and flavor while saving time on prep.
What if I don’t have pumpkin pie spice? Can I use individual spices instead?
Yes, you can blend cinnamon, nutmeg, ginger, cloves, and allspice in a pinch. The recipe includes these spices, so feel free to mix them fresh for your glaze or scones.
Is it possible to make these scones dairy-free?
You can substitute the butter and heavy cream with plant-based alternatives such as coconut oil and oat or almond milk cream, but note the texture and flavor might shift slightly.
How do I make sure my gluten-free scones turn out tender and not dry?
Be careful not to overwork the dough and keep your butter cold—it creates those lovely flaky layers. Also, do not skip the heavy cream as it adds essential moisture.
Can I double the recipe to make a bigger batch?
Yes, doubling works well. Just make sure to mix ingredients evenly and bake scones on multiple trays if needed, adjusting oven time slightly if necessary.
Final Thoughts
This Gluten-Free Pumpkin Scones Recipe is a heartwarming way to bring seasonal flavors right into your kitchen with ease and love. Whether you’re new to gluten-free baking or a seasoned pro, these scones offer a perfect balance of cozy spices and pumpkin sweetness. I can’t wait for you to make and share these—they just might become a beloved fall staple for years to come!
Print
Gluten-Free Pumpkin Scones Recipe
- Total Time: 25 minutes
- Yield: 8 scones
- Diet: Gluten Free
Description
These Gluten-Free Pumpkin Scones are a perfect fall treat, combining warm spices with tender, buttery scones made with gluten-free flour. Topped with a creamy vanilla glaze and a festive pumpkin spice drizzle, these scones are ideal for breakfast, brunch, or an afternoon snack.
Ingredients
Dry Ingredients
- 2 cups Gluten Free Flour
- ½ cup brown sugar (lightly packed)
- 2 teaspoons baking powder
- ½ teaspoon baking soda
- 2 ½ teaspoons cinnamon
- ½ teaspoon ginger
- ½ teaspoon nutmeg
- ¼ teaspoon cloves
- ¼ teaspoon allspice
- ¼ teaspoon salt
Wet Ingredients
- ½ cup cold butter, cubed
- ½ cup pumpkin puree
- 1 egg
- 2 tablespoons heavy cream
White Frosting
- ¾ cup powdered sugar
- 1 tablespoon heavy cream
Pumpkin Glaze
- ¾ cup powdered sugar
- 1 tablespoon pumpkin puree
- 1 teaspoon pumpkin pie spice
- 1 tablespoon heavy cream
Instructions
- Preheat Oven and Prepare Pan: Preheat the oven to 400°F (205°C). Line a baking pan with parchment paper to prevent sticking and ensure easy cleanup.
- Combine Dry Ingredients and Cut in Butter: In a large mixing bowl, whisk together all the dry ingredients: gluten-free flour, brown sugar, baking powder, baking soda, cinnamon, ginger, nutmeg, cloves, allspice, and salt. Cut in the cold, cubed butter using a pastry cutter or fork until the mixture becomes crumbly and well combined, resembling coarse crumbs.
- Mix Wet Ingredients and Combine: In a small bowl, whisk together the pumpkin puree, egg, and heavy cream. Add this wet mixture into the bowl with dry ingredients and gently mix until just combined; avoid overmixing to keep the scones tender.
- Shape Dough and Cut Wedges: Turn the dough onto a lightly floured surface (using gluten-free flour). Knead it just enough to form a cohesive ball, then flatten into a circle about ¾ inch thick. Use a sharp knife or pizza cutter to slice the dough into 8 wedges.
- Transfer and Bake: Carefully transfer each wedge onto the prepared baking sheet, spacing them approximately 1 inch apart to allow for expansion. Bake in the preheated oven for 13-15 minutes, or until a toothpick inserted in the center comes out clean and the tops are lightly golden. Remove from oven and transfer scones to a cooling rack to cool completely.
- Prepare White Frosting: In a small bowl, mix ¾ cup powdered sugar with 1 tablespoon heavy cream until smooth and creamy. Set aside.
- Prepare Pumpkin Glaze: In another small bowl, combine ¾ cup powdered sugar, 1 tablespoon pumpkin puree, 1 teaspoon pumpkin pie spice, and 1 tablespoon heavy cream. Whisk until smooth, then transfer to a piping bag for easy drizzling. Set aside.
- Frost and Decorate Scones: Once scones have cooled completely, frost each with about 1 tablespoon of the white frosting. Allow to set for approximately 5 minutes. Using the piping bag, drizzle the pumpkin glaze over the frosted scones. Let the glaze set for an additional 5 minutes before serving.
Notes
- Make sure the butter is cold for the best crumbly texture in your scones.
- Do not overmix the dough to keep the scones tender and flaky.
- Allow scones to cool completely before frosting to prevent the glaze from melting.
- Store leftover scones in an airtight container at room temperature for up to 2 days or refrigerate for up to one week.
- For a dairy-free version, substitute butter and heavy cream with plant-based alternatives.
- Prep Time: 10 minutes
- Cook Time: 15 minutes
- Category: Baking
- Method: Baking
- Cuisine: American

