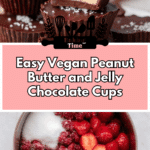
If you’ve ever thought that peanut butter and jelly couldn’t get any better, wait until you try this Vegan Peanut Butter and Jelly Cups Recipe. Imagine luscious layers of rich vegan chocolate embracing a creamy peanut butter center, topped with a vibrant, tangy berry jam that bursts with natural sweetness. It’s a bite-sized treat that brings the nostalgic flavor of the classic sandwich into a sophisticated, dairy-free dessert perfect for sharing or savoring all by yourself. Trust me, once you try this recipe, you’ll wonder how you lived without these delightful little cups before.
Ingredients You’ll Need
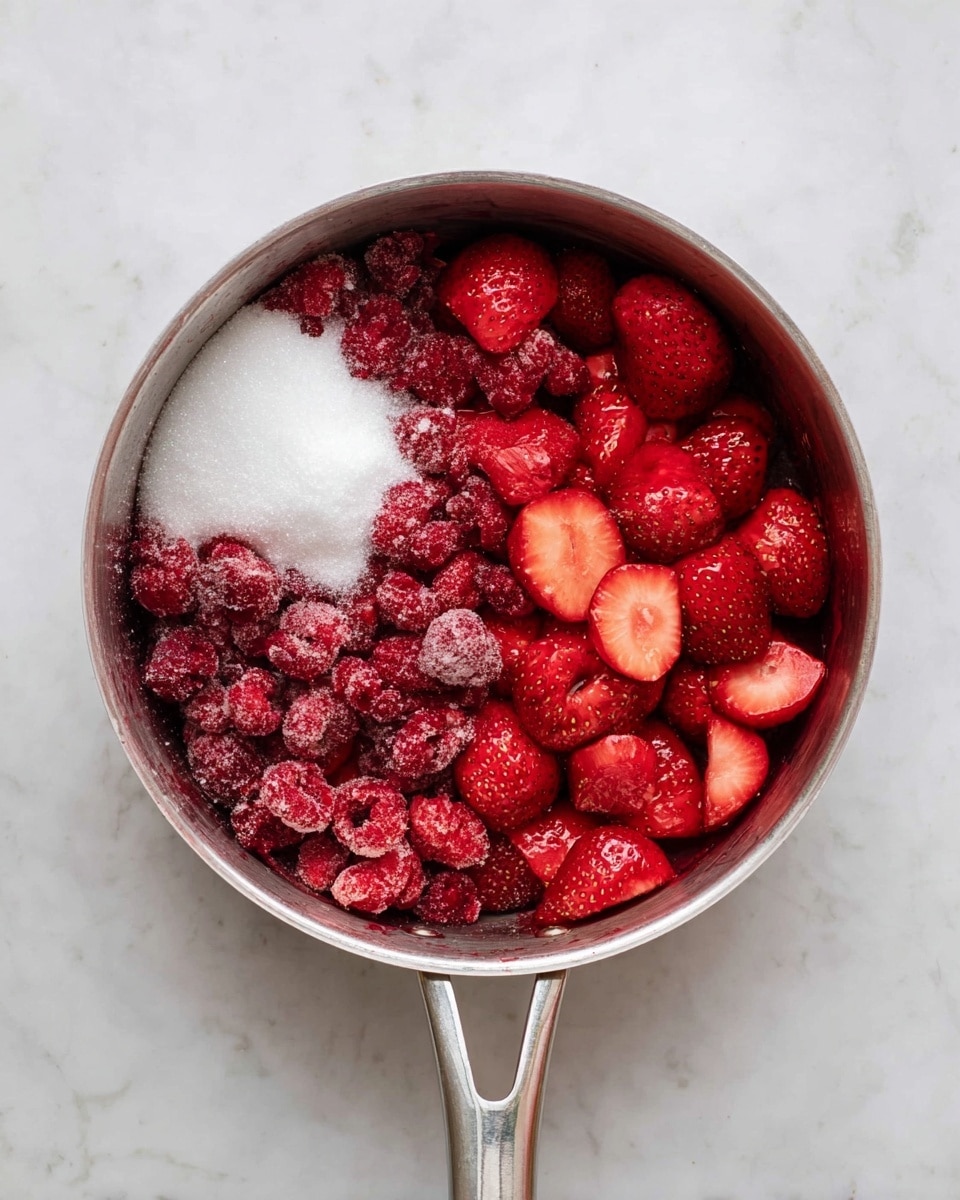
This recipe is a wonderful example of how a few simple, carefully chosen ingredients can come together to create something truly extraordinary. Each component plays a key role: the frozen berries bring bright color and natural tartness; the vegan chocolate coats everything with smooth richness; and the peanut butter adds that beloved creamy and salty contrast.
- Frozen berries, 300 g: A mix of strawberries and raspberries lends a beautiful balance of sweet and tangy flavors and a vibrant red color.
- Lemon juice, 1 tablespoon: Adds brightness and helps enhance the natural fruitiness of the berries.
- Superfine sugar, 30 g: Sweetens the berry jam gently without graininess — the perfect complement to tart berries.
- Cornstarch, 1 tablespoon: Thickens the berry mixture to a luscious jam-like consistency.
- Vegan chocolate, 300 g: Finely chopped for easier melting—provides the rich, creamy shell for the cups.
- Smooth peanut butter, 150 g: Offers a creamy, nutty middle that contrasts beautifully with the fruity jam and chocolate.
- Vegan powdered sugar, 20 g: Sweetens the peanut butter filling delicately and makes it ultra smooth.
- Sea salt, ½ teaspoon plus extra for garnish: Just a pinch inside the filling heightens the flavors; sprinkle a little on top for that irresistible salty-sweet finish.
How to Make Vegan Peanut Butter and Jelly Cups Recipe
Step 1: Prepare the Berry Jam
Start by cooking your frozen berries with superfine sugar and lemon juice over a gentle simmer. This combination softens the berries and brings out their natural juices. Once they’re bubbly and fragrant, whisk in the cornstarch to thicken the mixture into a luscious jam. Let it cool to room temperature—this wait is worth it for perfect layering later.
Step 2: Line the Muffin Tray
While your jam cools, get your muffin tray ready by lining it with 8 muffin cases. These will hold your cups firmly in place and make it easy to remove them later without any mess.
Step 3: Melt the Vegan Chocolate
Chop your vegan chocolate finely for even melting, then place it in a heatproof bowl over simmering water – a classic bain-marie method. Stir gently and consistently to achieve a smooth, glossy melt without burning or seizing.
Step 4: Create the Chocolate Shells
Spoon about a tablespoon of the melted chocolate into each muffin case, then swirl the chocolate around so it coats the sides as well as the base. This creates a sturdy shell to hold all the delicious layers. Pop the tray into the fridge for at least 15 minutes to let the chocolate set completely.
Step 5: Make the Peanut Butter Filling
Mix together smooth peanut butter and vegan powdered sugar until silky smooth—this sweetened filling is pure peanut butter bliss. Spoon about a tablespoon into each chocolate cup and gently smooth it out with the back of a spoon, creating a creamy center that contrasts nicely with the crisp chocolate shell.
Step 6: Add the Berry Jam Layer
Top the peanut butter with 1 to 2 teaspoons of the cooled berry jam, spreading it evenly. This layer brings that iconic peanut butter and jelly taste to life in a rich, indulgent form.
Step 7: Seal the Cups with More Chocolate
If your melted chocolate has thickened, gently reheat it to the perfect pouring consistency. Use this to top off each cup, sealing the peanut butter and jelly layers inside a smooth chocolate cap. Return the tray to the fridge for at least 30 minutes to let everything set completely.
Step 8: Garnish and Serve
Just before serving, sprinkle a pinch of sea salt atop every cup—this finishing touch balances the sweetness and deepens the flavor beautifully.
How to Serve Vegan Peanut Butter and Jelly Cups Recipe
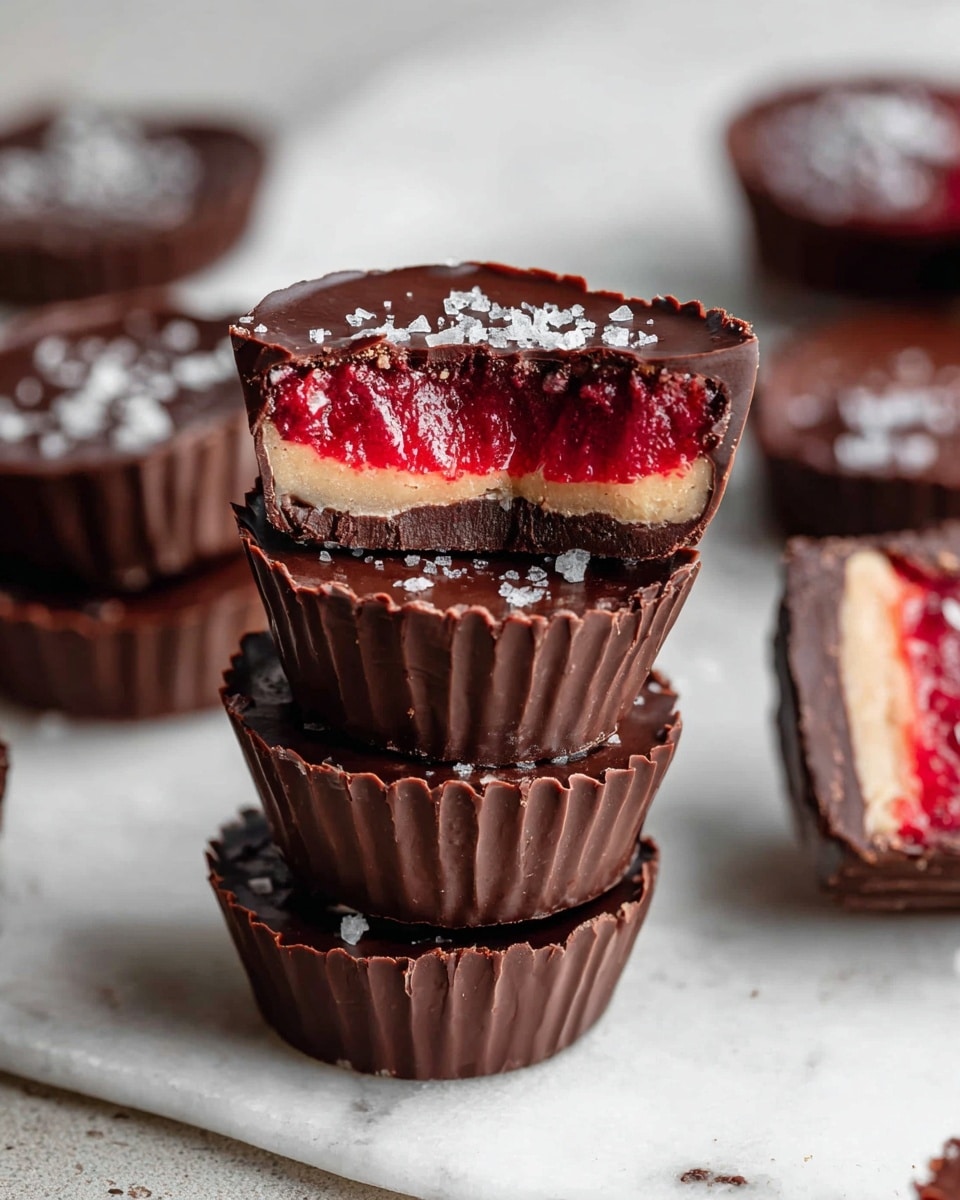
Garnishes
The addition of a sprinkle of flaky sea salt on top enhances the sweet and nutty flavor, creating a subtle pop of seasoning in every bite. For added elegance, you could sprinkle crushed roasted peanuts or a few fresh berry pieces that echo the flavors inside.
Side Dishes
These cups are rich and indulgent, so serving them with light, fresh sides like a crisp green salad or fresh fruit keeps things balanced. Pairing with a cup of herbal tea or a chilled non-dairy milk complements their creamy, chocolatey notes perfectly.
Creative Ways to Present
Try placing each cup in a small decorative paper liner nestled on a wooden board for a rustic vibe, or present them in a glass dessert dish layered with a scattering of crushed nuts and berries. They also make adorable gifts when wrapped in a cellophane bag tied with a colorful ribbon.
Make Ahead and Storage
Storing Leftovers
Store your peanut butter and jelly cups in an airtight container in the refrigerator to maintain their fresh textures. They keep wonderfully for up to a week, making them a perfect make-ahead dessert for busy days or unexpected guests.
Freezing
If you want to enjoy them later, these cups freeze exceptionally well. Just pop them into an airtight container or freezer bag and freeze. When ready to eat, let them thaw at room temperature for about an hour before serving to bring back that perfect creamy texture.
Reheating
There’s no need to heat these treats—serving them chilled preserves the textures you want to enjoy. However, if they’ve been frozen, a short 10-15 minute thaw at room temperature is all you need to make them ready for devouring.
FAQs
Can I use other nut butters instead of peanut butter?
Absolutely! Almond butter, cashew butter, or sunflower seed butter all work wonderfully, though the flavor will shift slightly. Choose one with a smooth consistency for the best texture in these cups.
What kind of vegan chocolate is best for this recipe?
Look for high-quality, dairy-free chocolate with a cocoa content you enjoy—around 60% dark chocolate balances sweetness and richness perfectly. Avoid chocolates with added dairy ingredients to keep the recipe fully vegan.
Can I make the berry jam ahead of time?
Yes, you can prepare the berry jam a day in advance and refrigerate it. Just make sure it’s cooled completely before layering in the cups to prevent any melting of the chocolate shell.
Is there a way to make these nut-free?
You can substitute the peanut butter with seed butters like sunflower or pumpkin seed butter to keep the recipe nut-free. Just confirm all other ingredients, including chocolate, are processed in a nut-free facility if allergies are a concern.
How long does it take to set the chocolate layers properly?
Chilling the chocolate shells and final layers in the fridge for at least 30 minutes ensures they set firm and keep their shape. If you’re in a hurry, popping them in the freezer for a shorter time can work, but keep a close eye to prevent cracking.
Final Thoughts
I can’t recommend this Vegan Peanut Butter and Jelly Cups Recipe enough for anyone who loves a nostalgic flavor upgrade. It’s a playful mix of textures and tastes that feels both comforting and sophisticated. Whether you’re making them for a special occasion or simply a treat for yourself, these cups are sure to bring a smile to your face with every bite. Give them a try—you might just find your new favorite dessert!
Print
Vegan Peanut Butter and Jelly Cups Recipe
- Total Time: 1 hour
- Yield: 9 servings
- Diet: Vegan
Description
Delightful vegan Peanut Butter and Jelly Cups made with rich vegan chocolate, smooth peanut butter, and a homemade berry jam. These no-bake treats combine the classic PB&J flavors in a fun, elegant form, perfect for a plant-based snack or dessert that’s easy to prepare and enjoy.
Ingredients
Berry Jam
- 300 g frozen berries (strawberries and raspberries)
- 1 tablespoon lemon juice
- 30 g superfine sugar (caster sugar)
- 1 tablespoon cornstarch (cornflour)
Chocolate Shell
- 300 g vegan chocolate
Peanut Butter Filling
- 150 g smooth peanut butter
- 20 g vegan powdered sugar (icing sugar)
- ½ teaspoon sea salt (plus extra for garnish)
Instructions
- Prepare the berry jam: Add the frozen berries, superfine sugar, and lemon juice to a saucepan and bring to a simmer. Cook for 10 minutes, stirring often to prevent sticking. Add the cornstarch, whisk well, and cook for another 3 minutes while continuously whisking. Set aside to cool to room temperature for 20 minutes.
- Line muffin tray: Line a muffin tray with 8 muffin cases, preparing for the chocolate cups.
- Melt the chocolate: Finely chop the vegan chocolate and place it in a heat-resistant bowl. Set the bowl over a saucepan with simmering water (bain-marie). Stir occasionally with a rubber spatula until the chocolate is melted evenly.
- Create chocolate cups: Spoon one tablespoon of melted chocolate into each muffin case. Swirl the cups so the chocolate coats the edges evenly. Refrigerate for at least 15 minutes to set.
- Make the peanut butter filling: Combine peanut butter and powdered sugar in a bowl and stir until smooth. Add about a tablespoon of this mixture into each chocolate cup, smoothing it with the back of a spoon. Then top with 1-2 teaspoons of the cooled jam and level it evenly.
- Top with chocolate: Reheat any remaining melted chocolate if needed, and pour it over the jam layer to seal the cups.
- Chill to set: Return the cups to the fridge and cool for 30 minutes until completely set. Before serving, sprinkle with a pinch of sea salt for enhanced flavor.
- Storage instructions: Store the peanut butter and jelly cups in an airtight container in the refrigerator for up to one week. Alternatively, freeze them and thaw at room temperature for about an hour before serving.
Notes
- Make sure to whisk the berry mixture continuously after adding cornstarch to prevent lumps.
- Use vegan chocolate and powdered sugar to keep the recipe fully plant-based.
- The sea salt garnish enhances the flavor by balancing sweetness with a hint of saltiness.
- If you prefer, you can use other frozen berries such as blueberries or blackberries.
- Ensure the chocolate cups are fully cooled and set before adding fillings to prevent melting.
- These cups can be enjoyed as a delightful snack or a quick dessert, perfect for vegan and dairy-free diets.
- Prep Time: 15 minutes
- Cook Time: 25 minutes
- Category: Dessert
- Method: No-Cook
- Cuisine: American
